These are the steps to install the VMware Aria Operations appliance (formerly known as vRealize Operations Manager a.k.a. vROps), which is the second phase of the implementation right after you deploy the .ova file into your vCenter.
To see the deployment process of the .ova file you can view the vROps Deploy & Configure post I made earlier of version 8.5. The steps to deploy the .ova hasn’t changed. Although the configure steps to enroll the appliance hasn’t changed much either, version 8.12 offers a significant change in the web ui’s look & and feel that I didn’t want to keep away from you.
Appliance Configuration
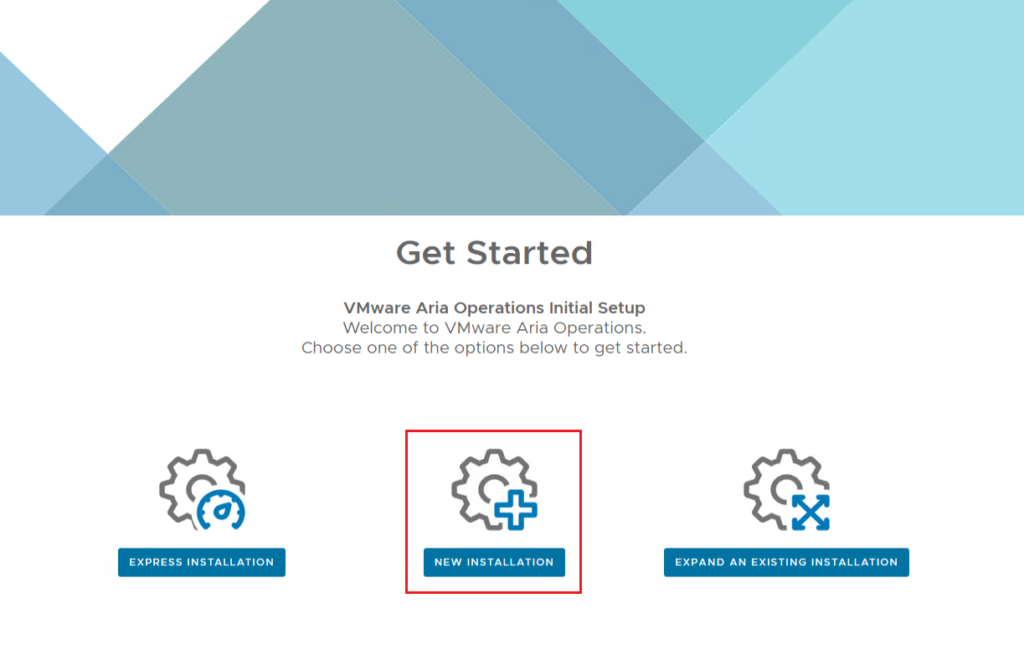
Once you have deployed the .ova file, navigate to the vROps appliance address and select > ‘New Installation’
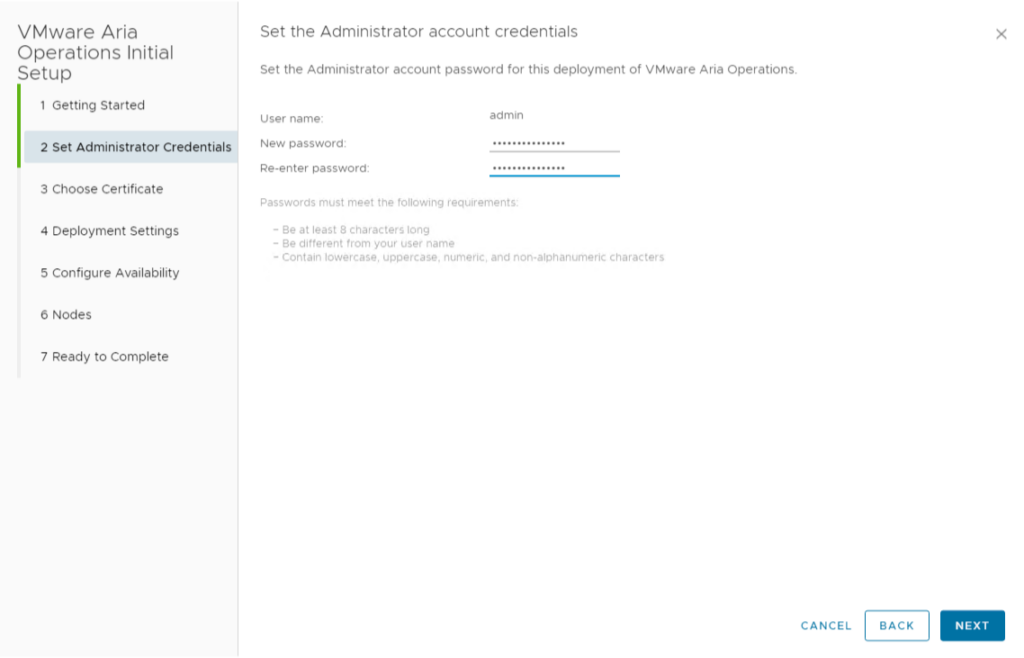
Set the credentials > Next
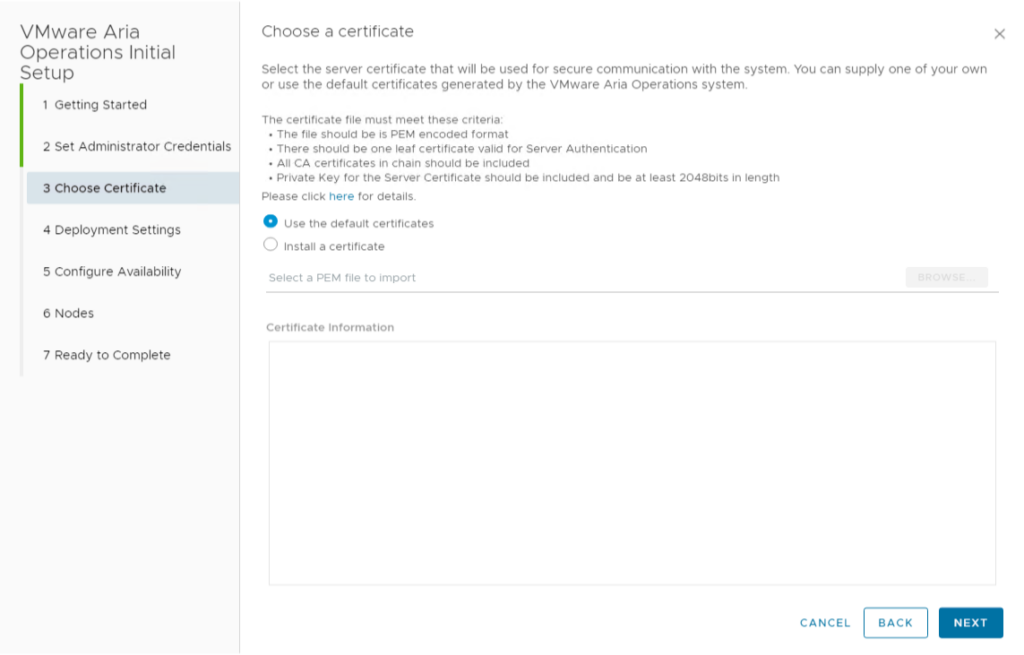
Select the appropriate option > Next
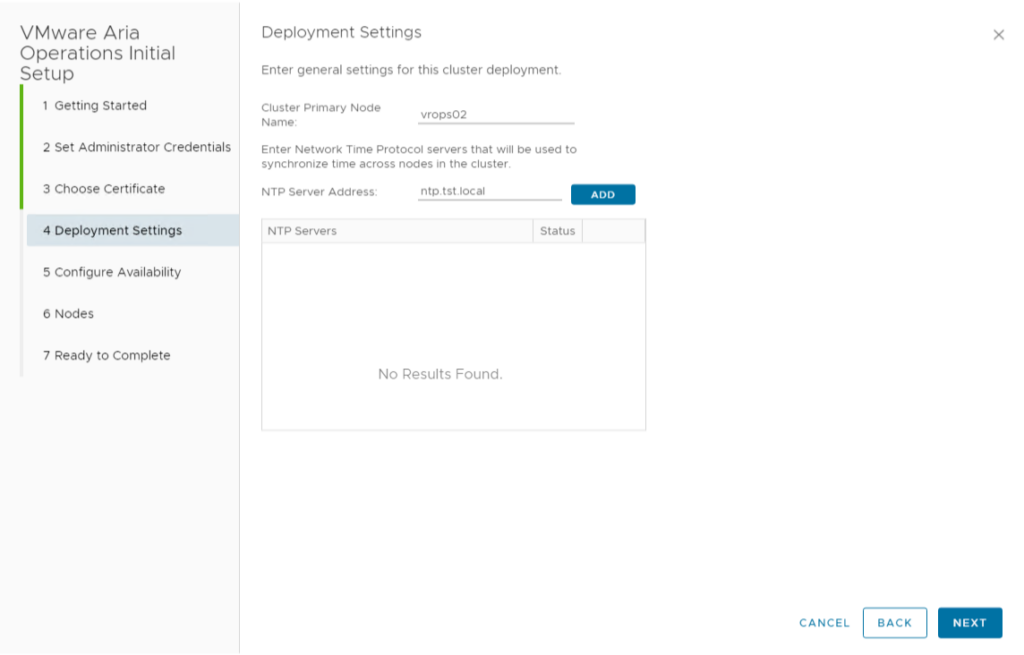
Fill in the Deployment Settings > Add ntp server address > Next
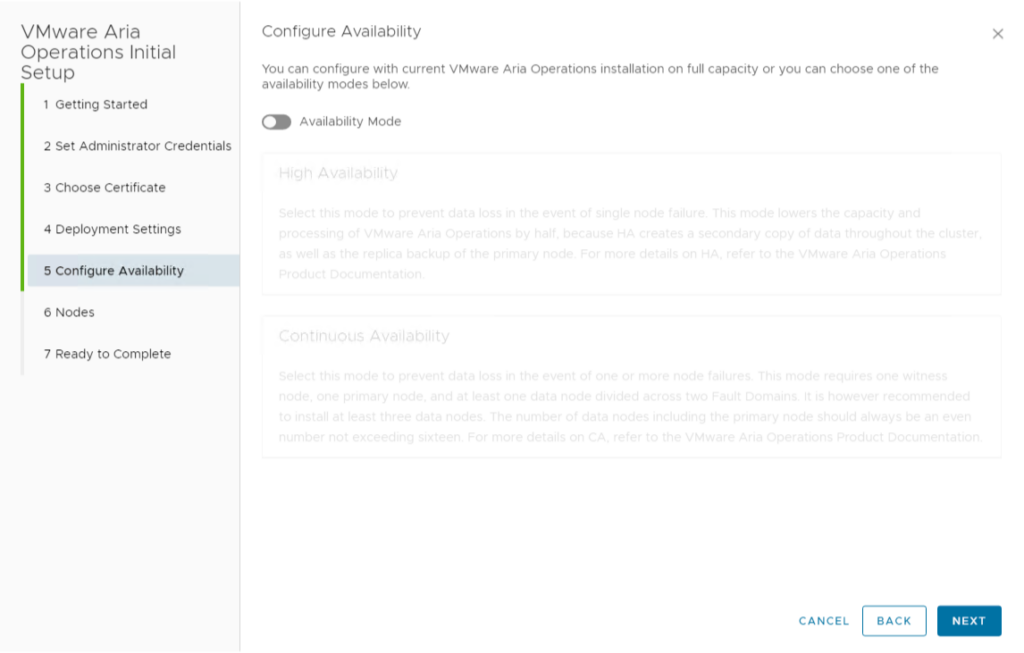
No availability nodes will be configured here > Next
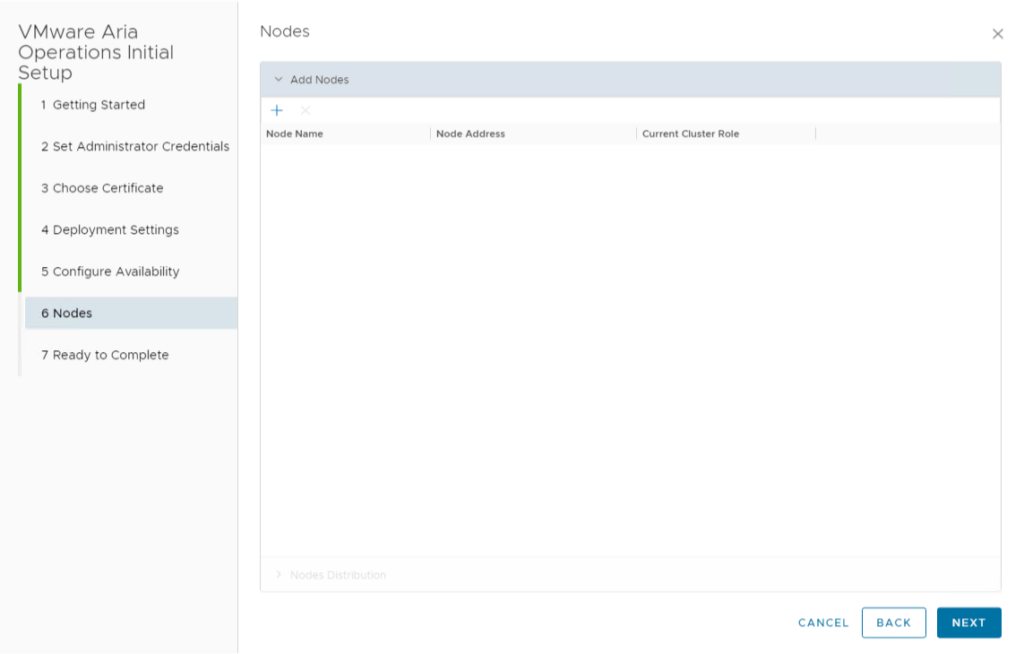
We have no other data nodes > Next
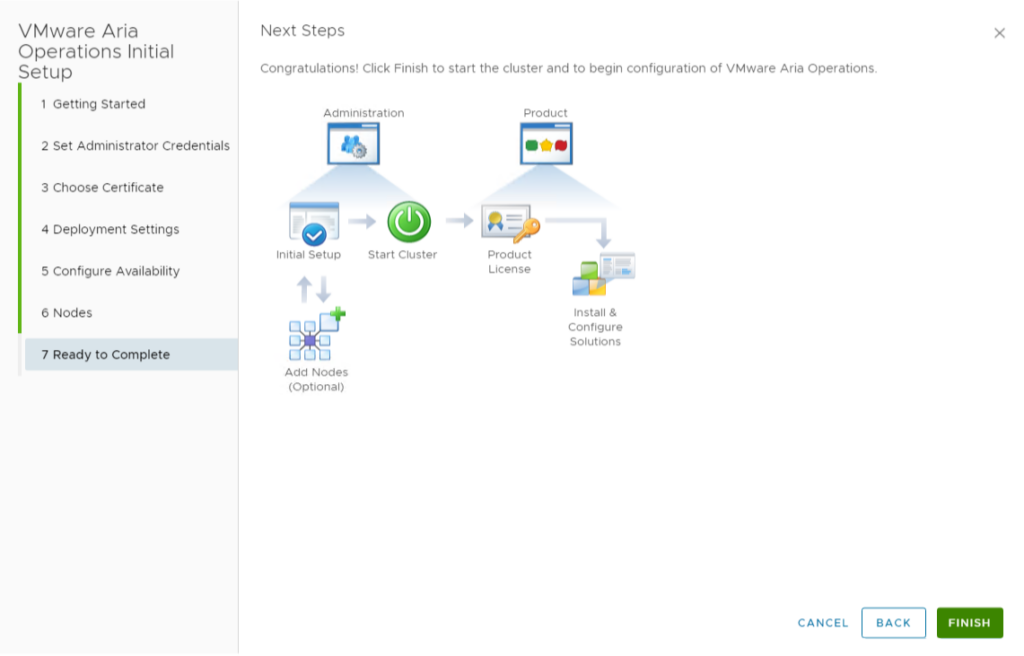
Finish the Installation
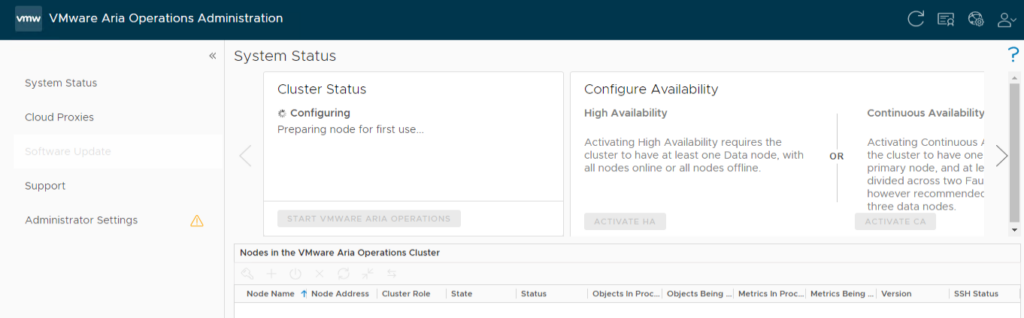
It will go ahead and configure the node
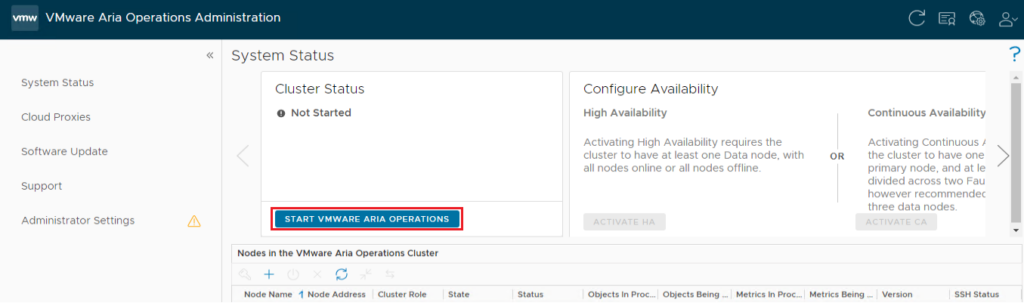
You can now start Aria Operations
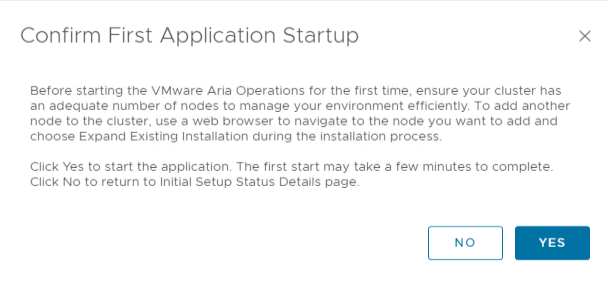
Confirm the operation
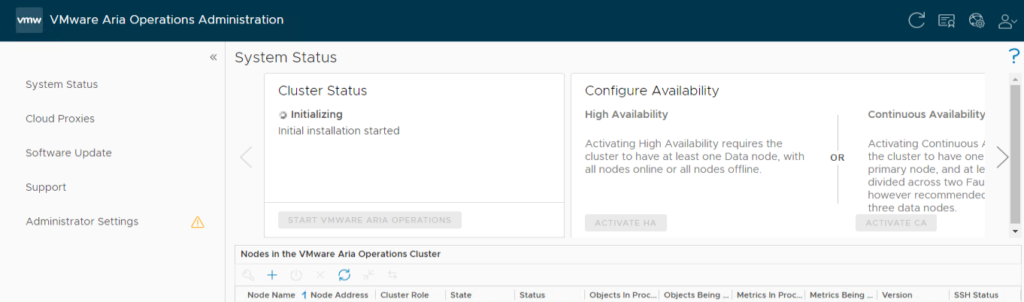
After the initialization, the node will start
When the configuration of the node is finished you will have tog back in to the appliance
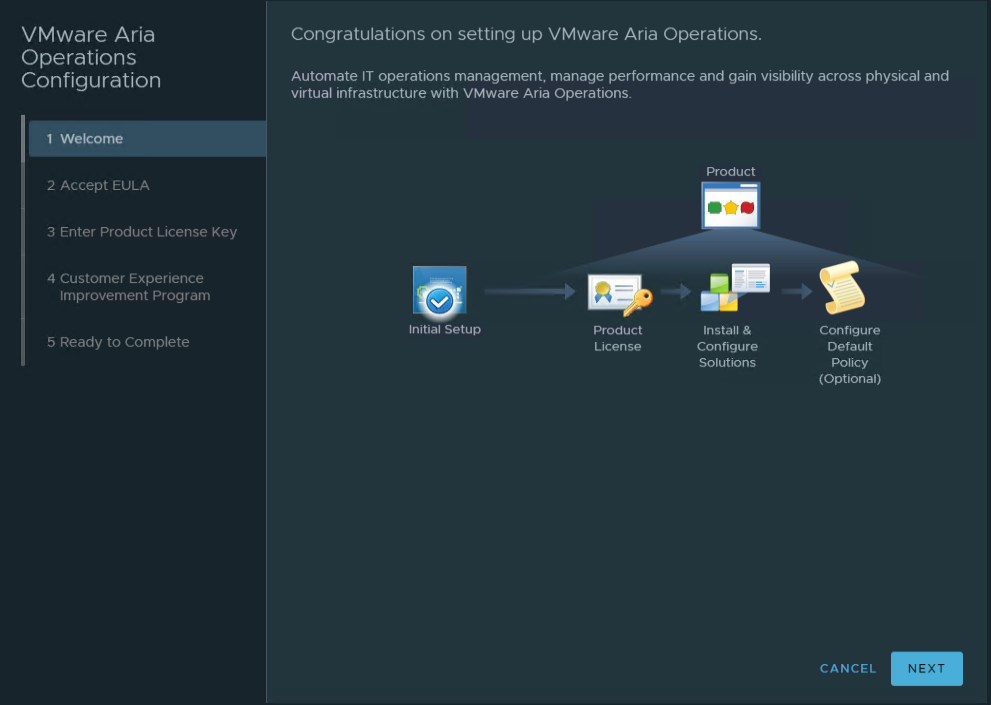
And go through the following steps to finalize
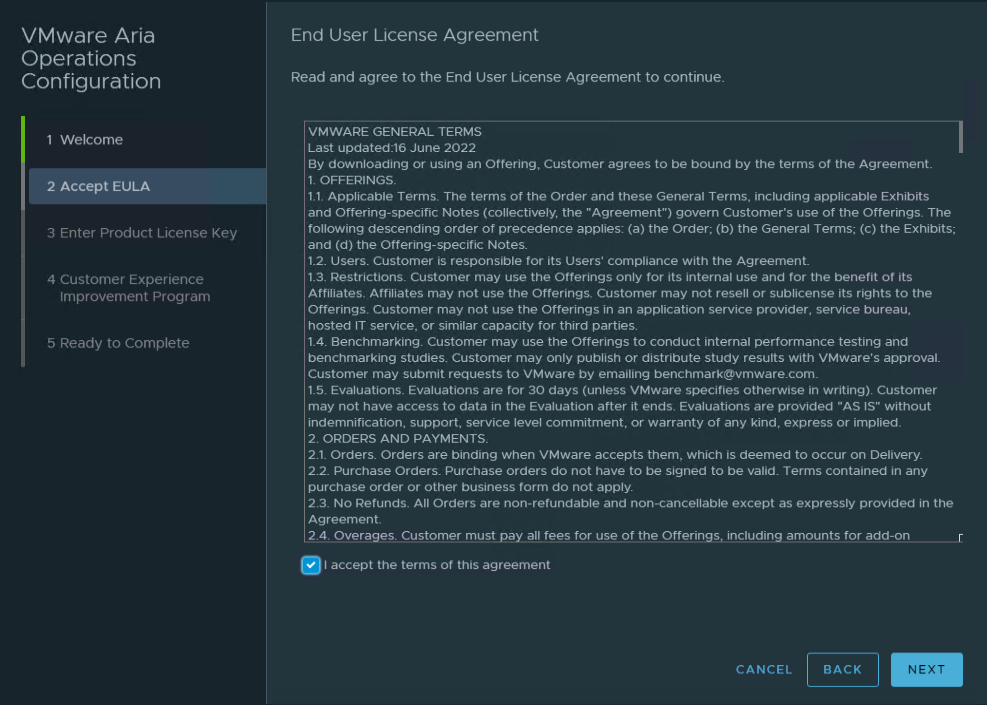
Accept the EULA
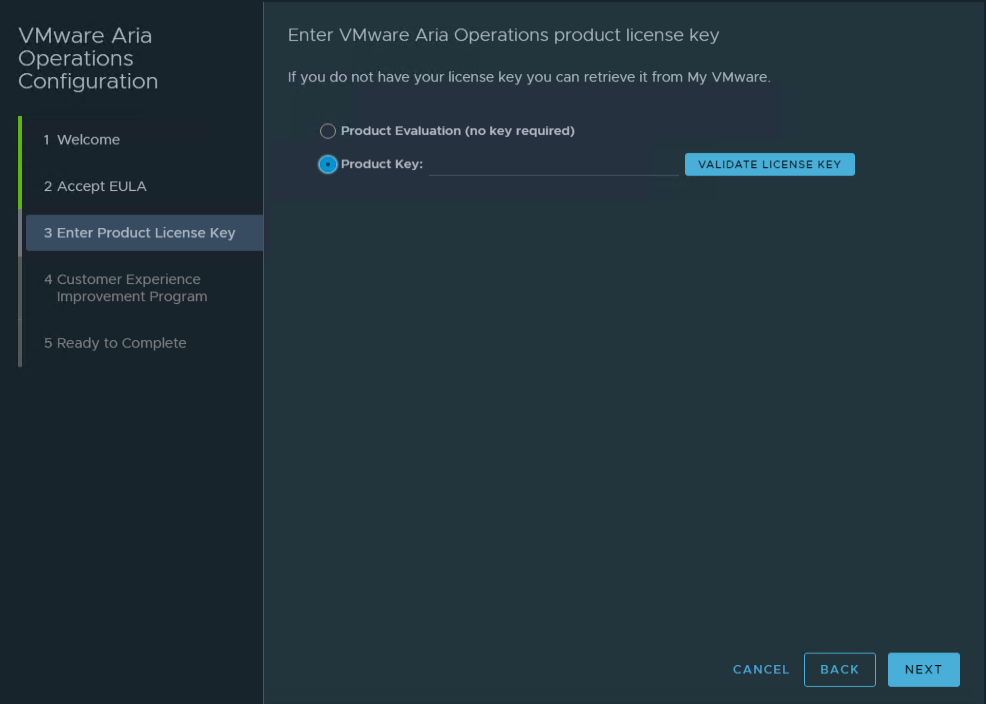
Your vROps product key
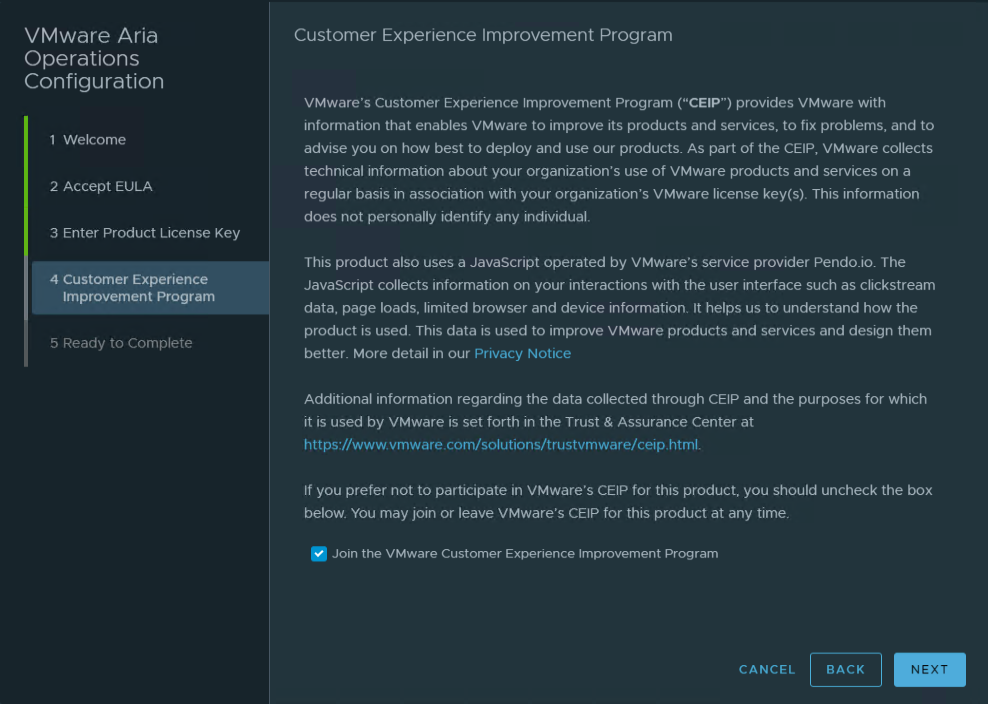
Join the Program (or not)
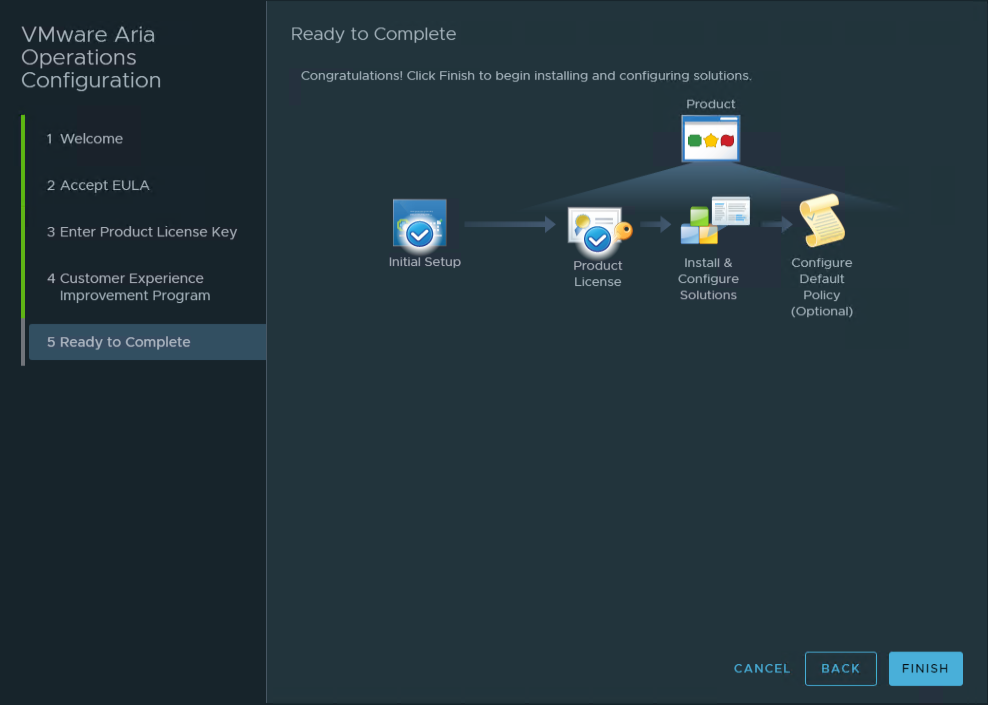
Finish this setup
You’re newly deployed vROps appliance is ready for use.
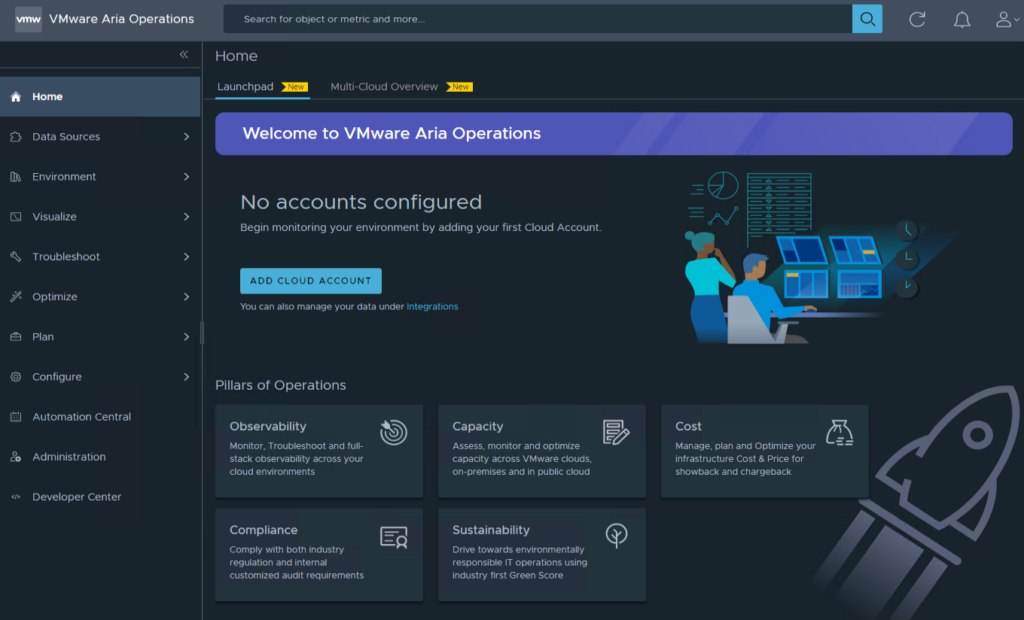
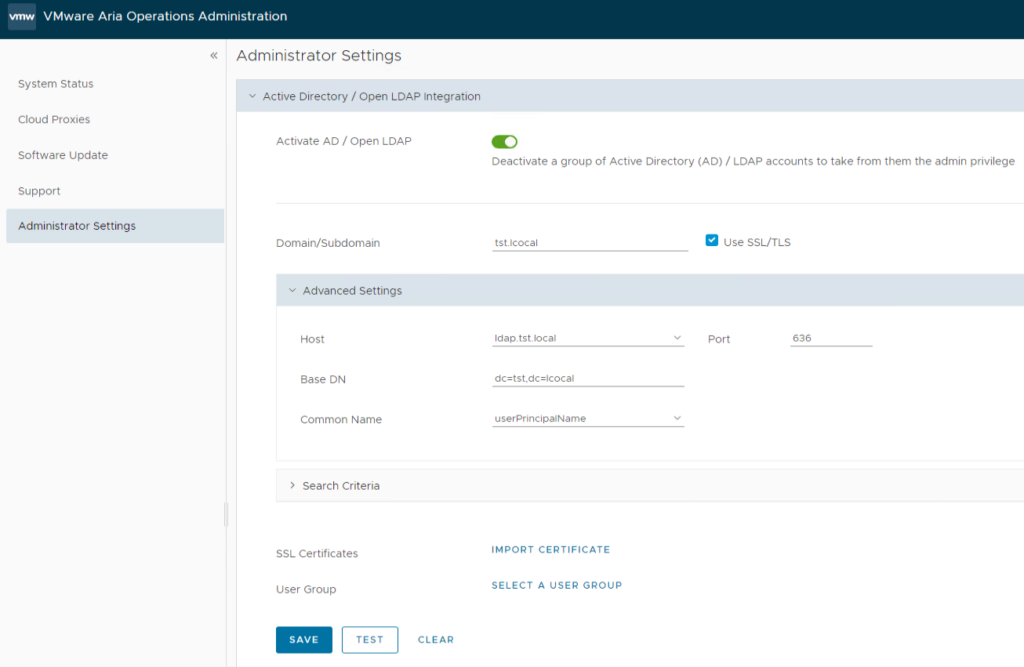
Be sure to configure the communication with AD, you will be prompted to fill in the credentials that has the necessary rights to perform the