What Is vRealize Operations Manager?
vRealize Operations Manager delivers intelligent operations management with application-to-storage visibility across physical, virtual, and cloud infrastructures. Using policy-based automation, operations teams automate key processes and improve the IT efficiency.
Using data collected from system resources (objects),vRealize Operations Manager identifies issues in any monitored system component, often before the customer notices a problem. vRealize Operations Manager also frequently suggests corrective actions you can take to fix the problem right away. For more challenging problems, vRealize Operations Manager offers rich analytical tools that allow you to review and manipulate object data to reveal hidden issues, investigate complex technical problems, identify trends, or drill down to gauge the health of a single object.
Before proceeding, make sure you’ve read through the documentation on the topic, like the vROPS 8.5 Release Notes and the VMware Product Interoperability Matrix that provides details about the compatibility of vRealize Operations with VMware products.
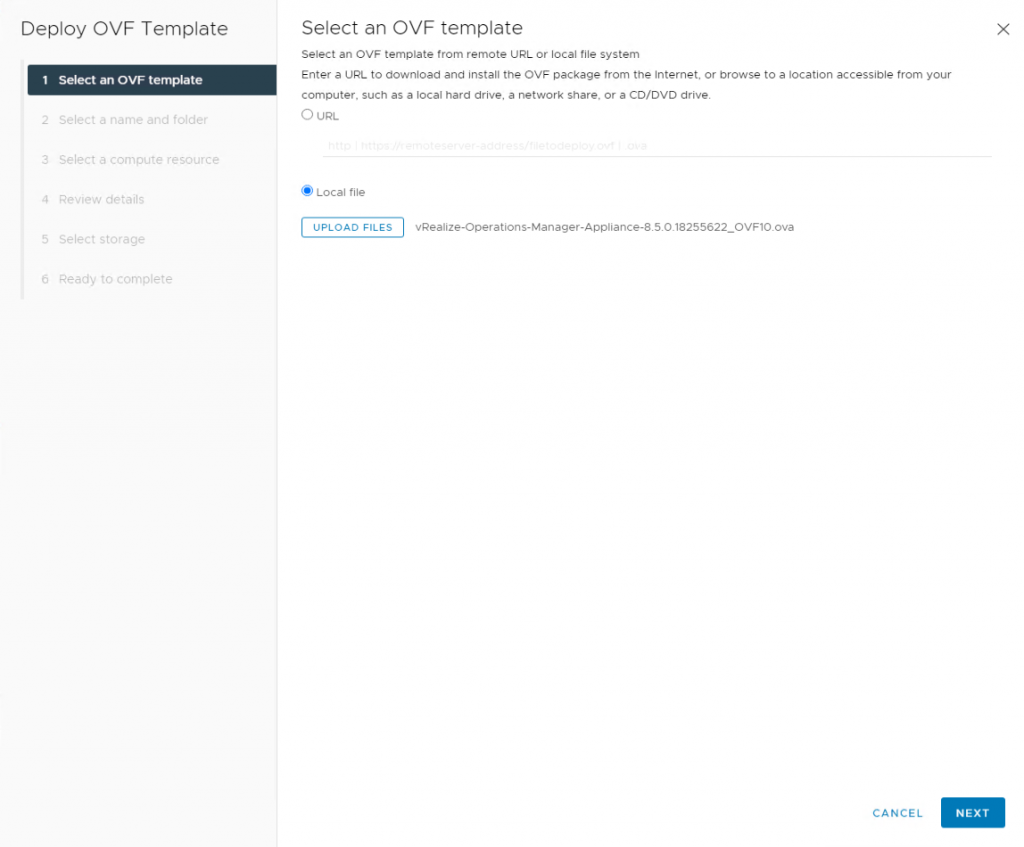
Proceed to download the .ova file from the VMware Download site
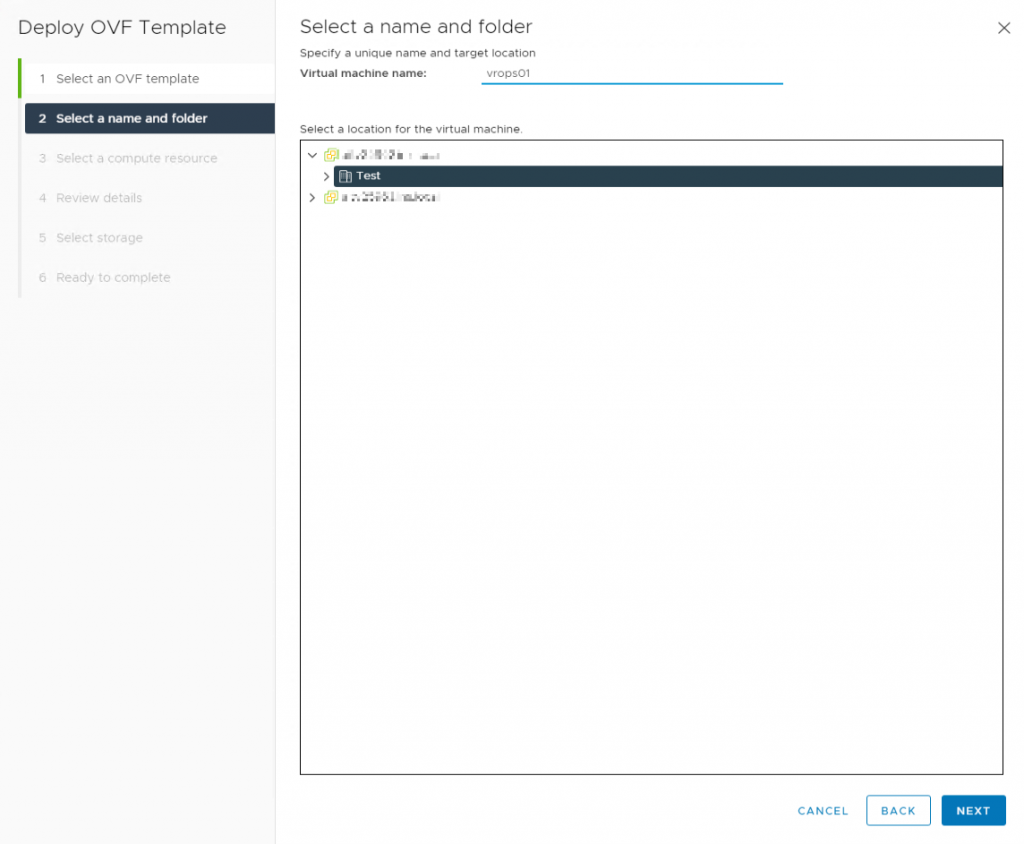
On the cluster level select > Deploy OVF Template

Here you can upload the .ova file
Rename the vROps appliance as pleased
Select a computer resource

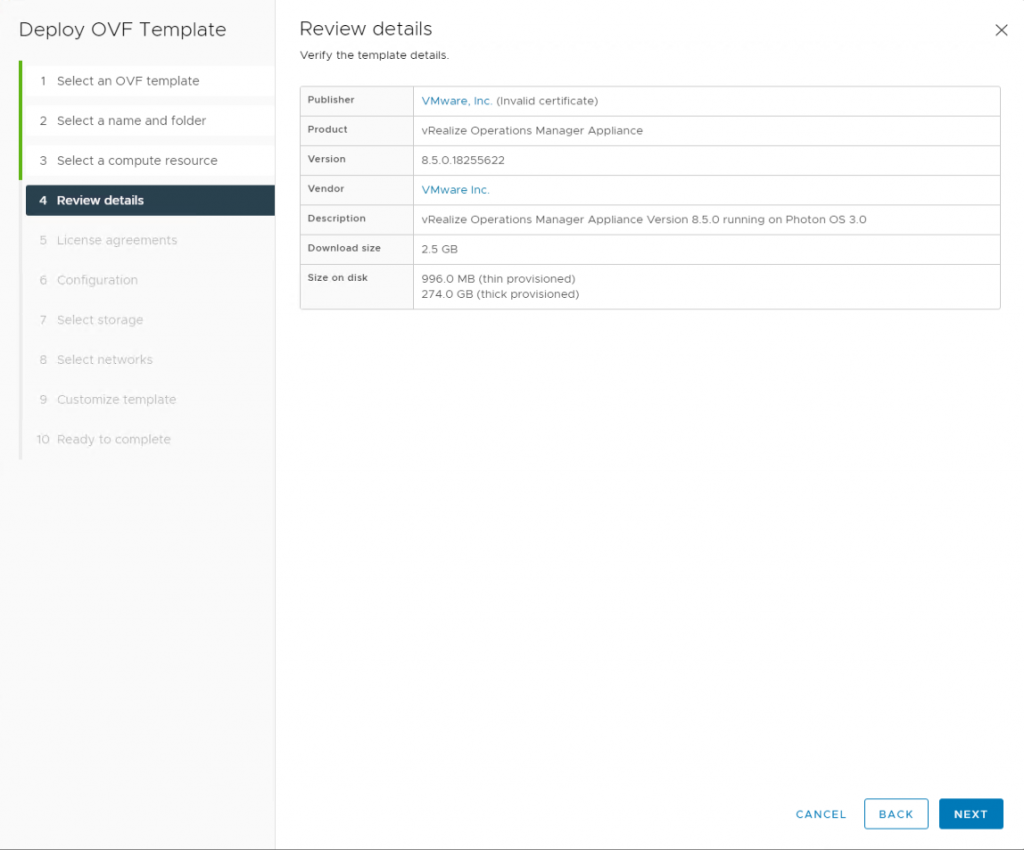
Review the details

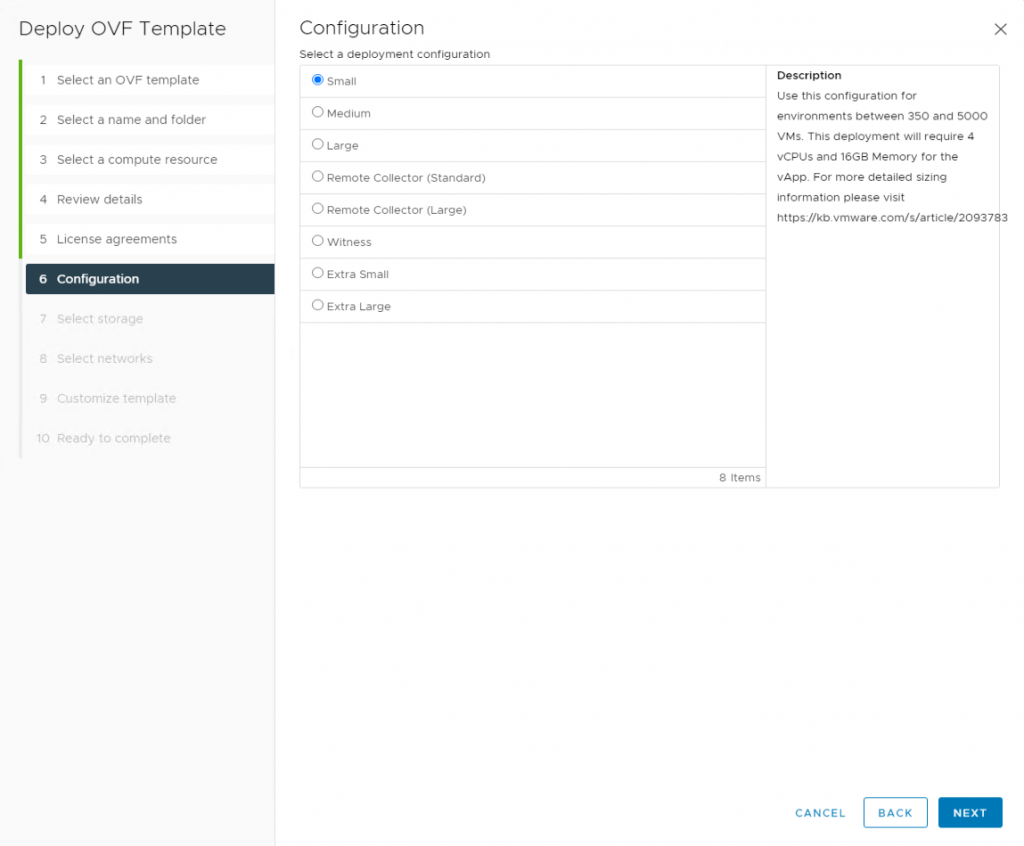
Choose your Configuration
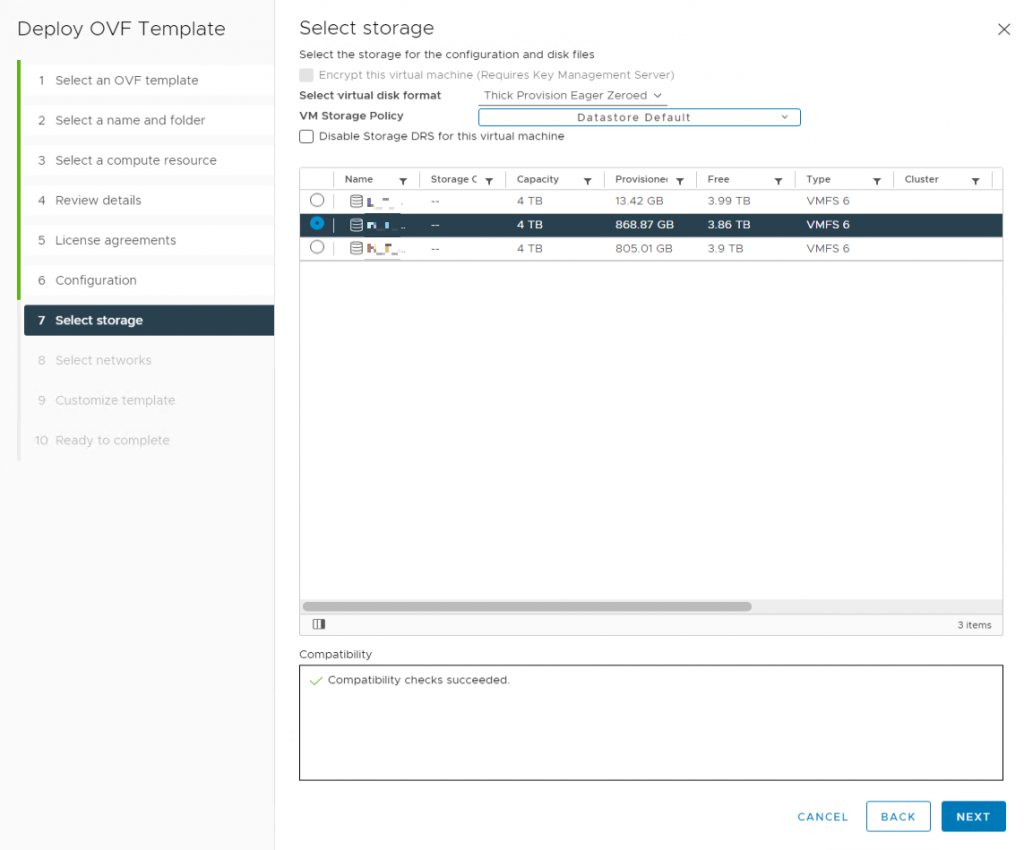
Choose the datastore and the virtual disk format
Choose the network for the appliance

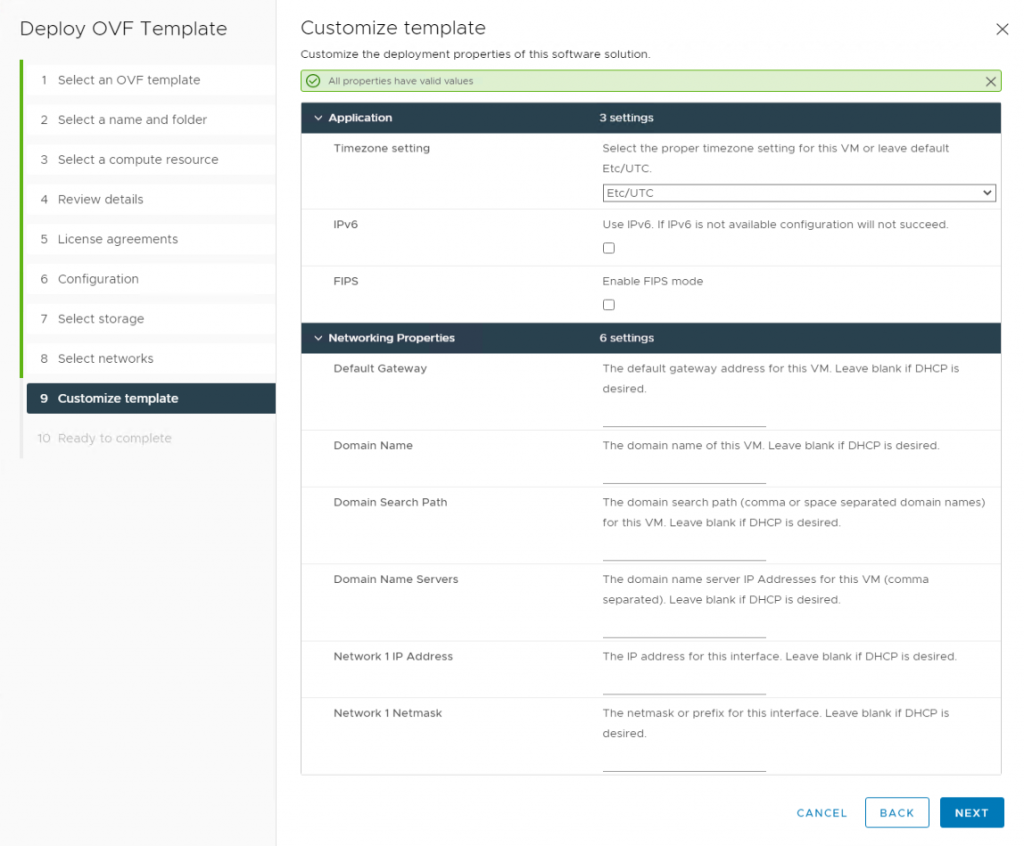
Fill in the network properties
Review the settings and click on Finish

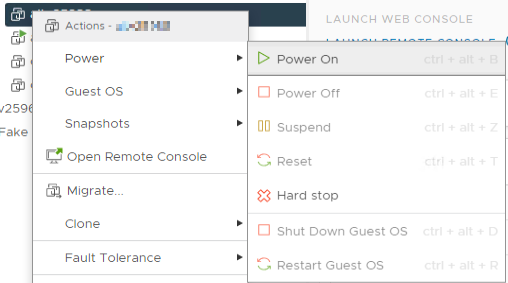
After the deployment is finished, power on the VM
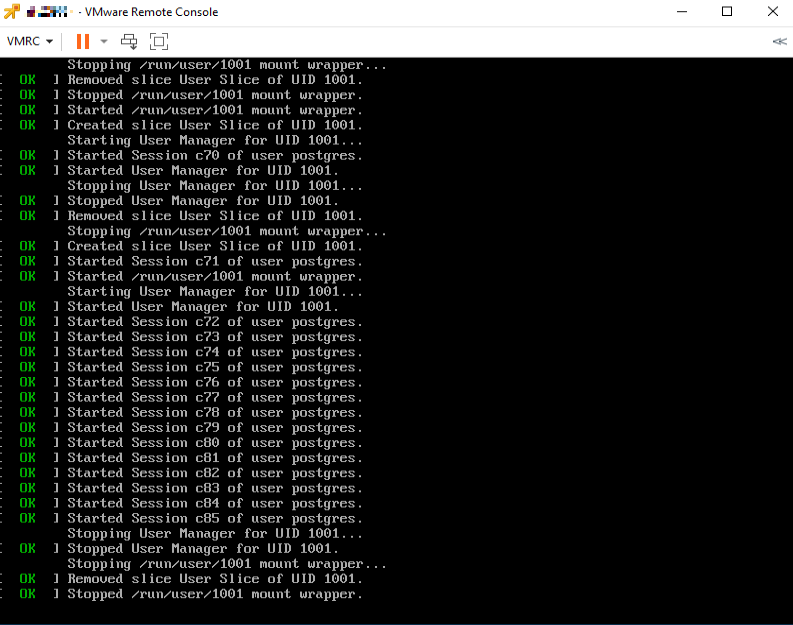
This might take a few minutes
Once the vROps appliance is started, go to the management web interface using the ip address or the domain name
In our example this is either https://10.20.30.100 or https://vrops01.tst.local > will be redirected to https://vrops01.tst.local/admin/newCluster.action
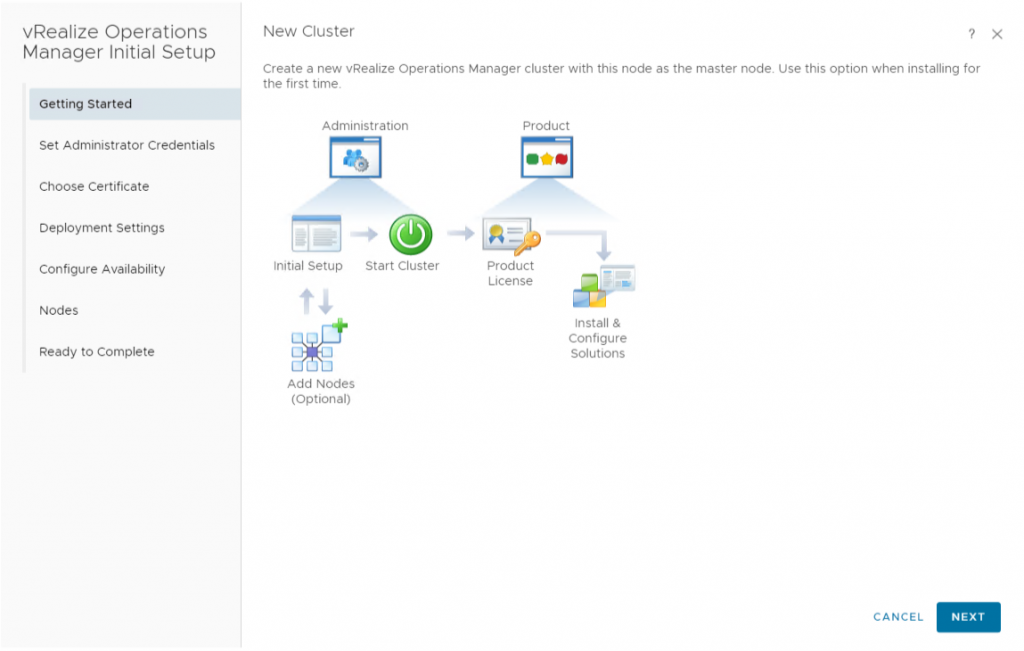
You will then be presented with the ‘Get Started’ page. This will be my first installation > New Installation

Fill in a password > Next

Select which kind of certificates you want to use > Next

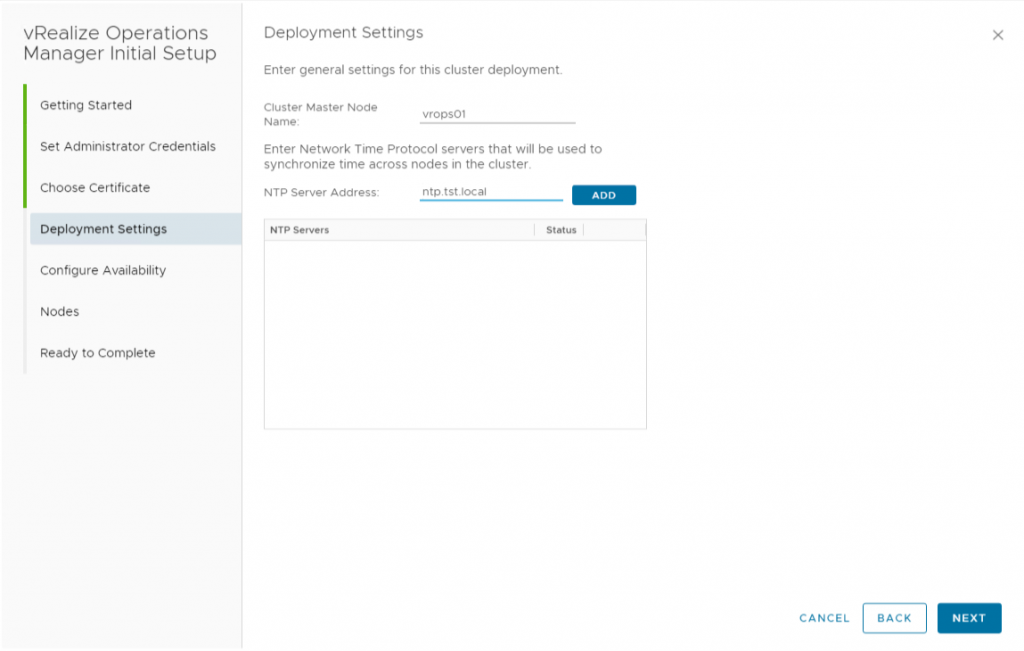
Fill in the Cluster Master Node Name, as in name of the vROps appliance and the NTP server > Add
> Next
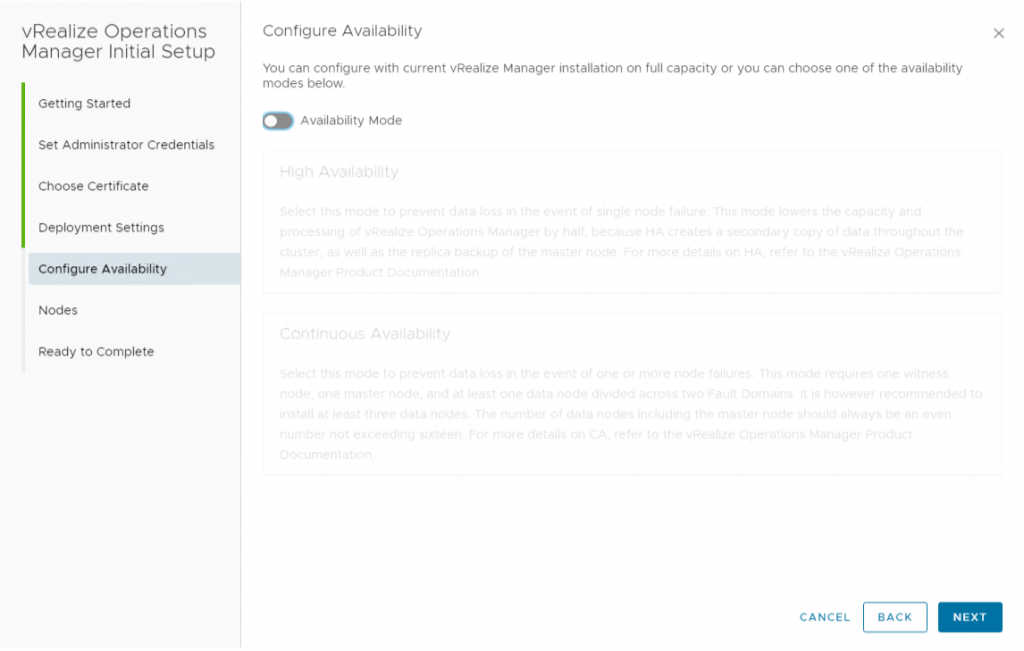
I will not configure Availability Mode at this moment
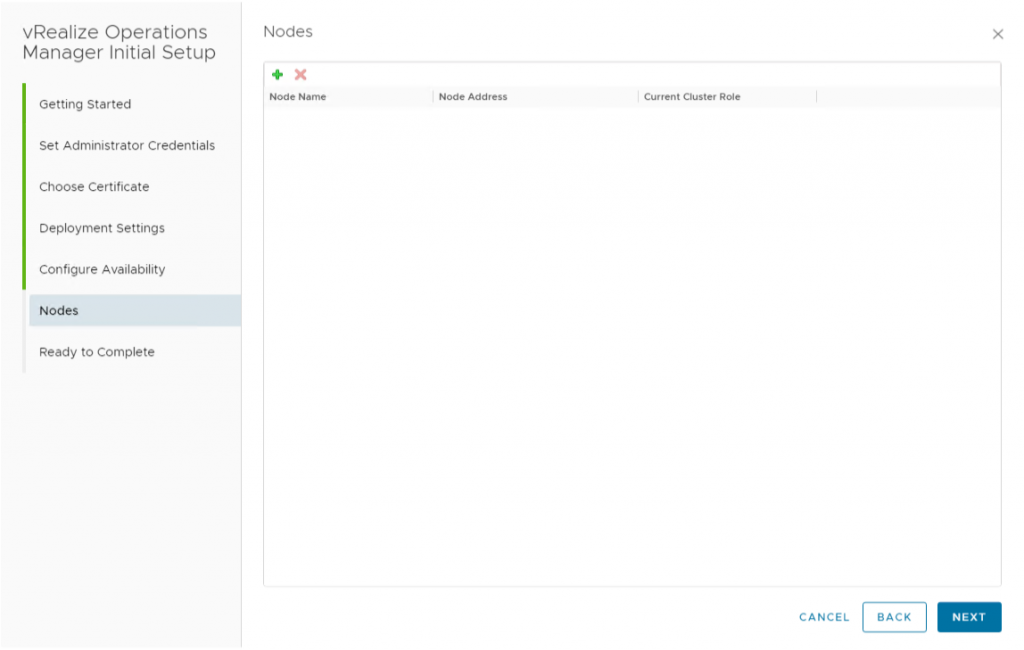
No other data node exists here, I will leave it blank > Next
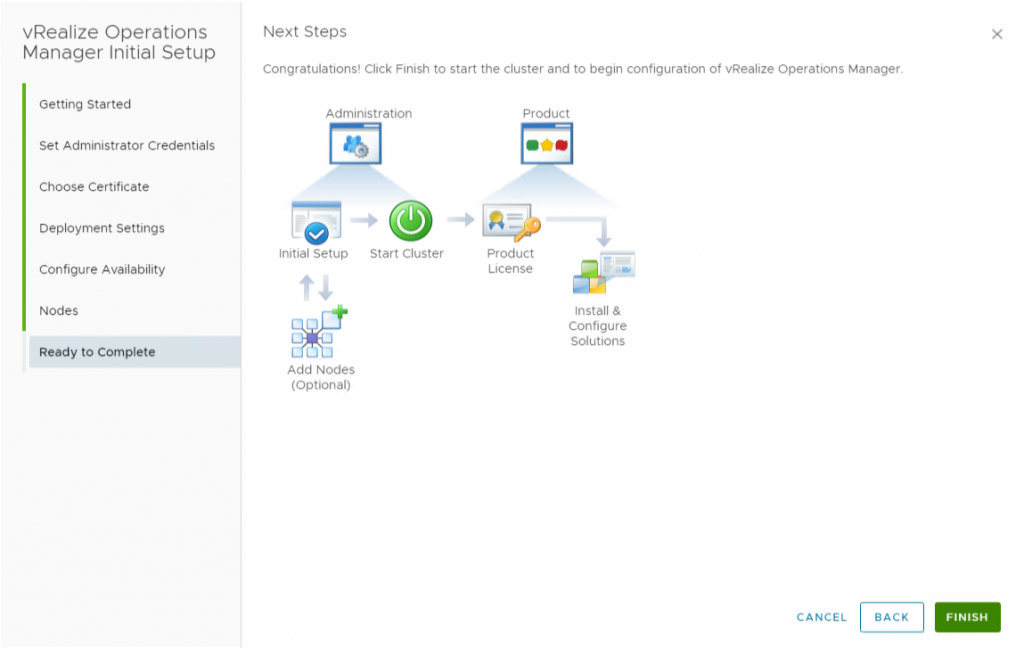
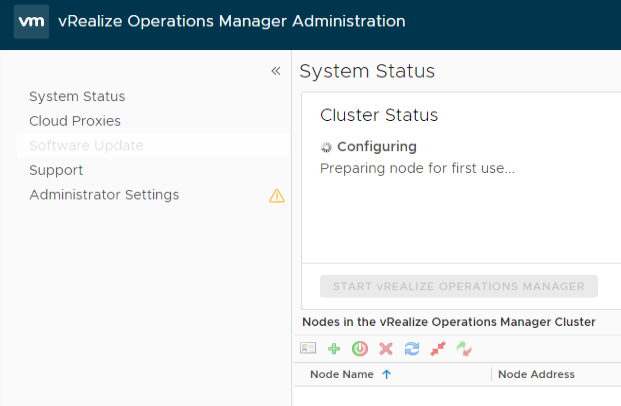
vROps will be configured for first time use
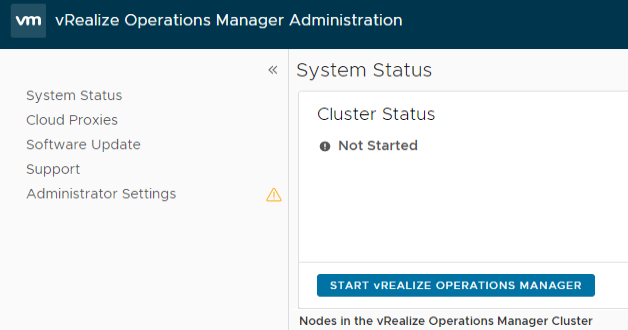
Once it’s finished, select > Start vRealize Operation Manager
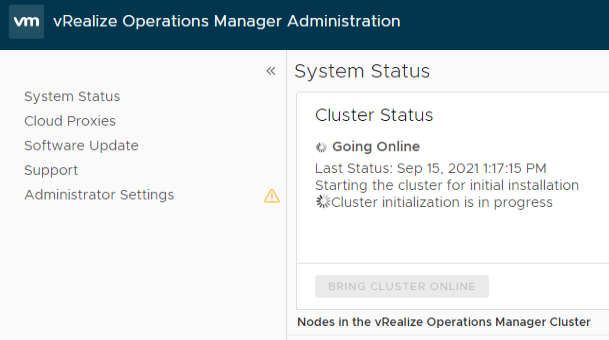
Confirm the operation > Yes

In progress…
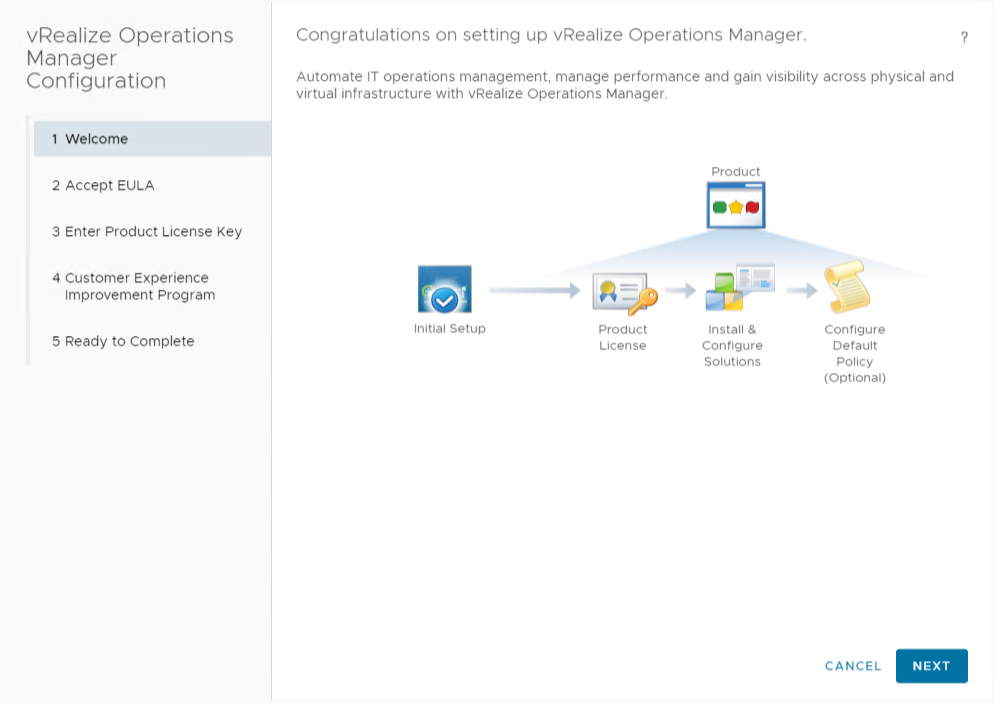
Once the installation is finished, log back into the vROps appliance where you will be greeted with the following screen > Next
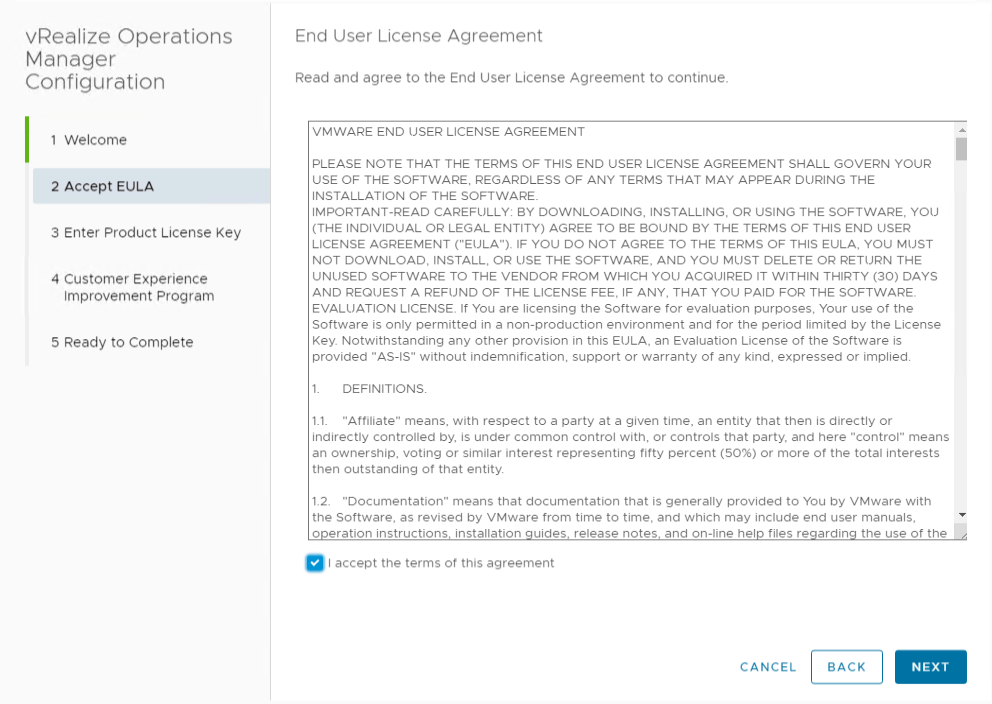
Accept the EULA > Next
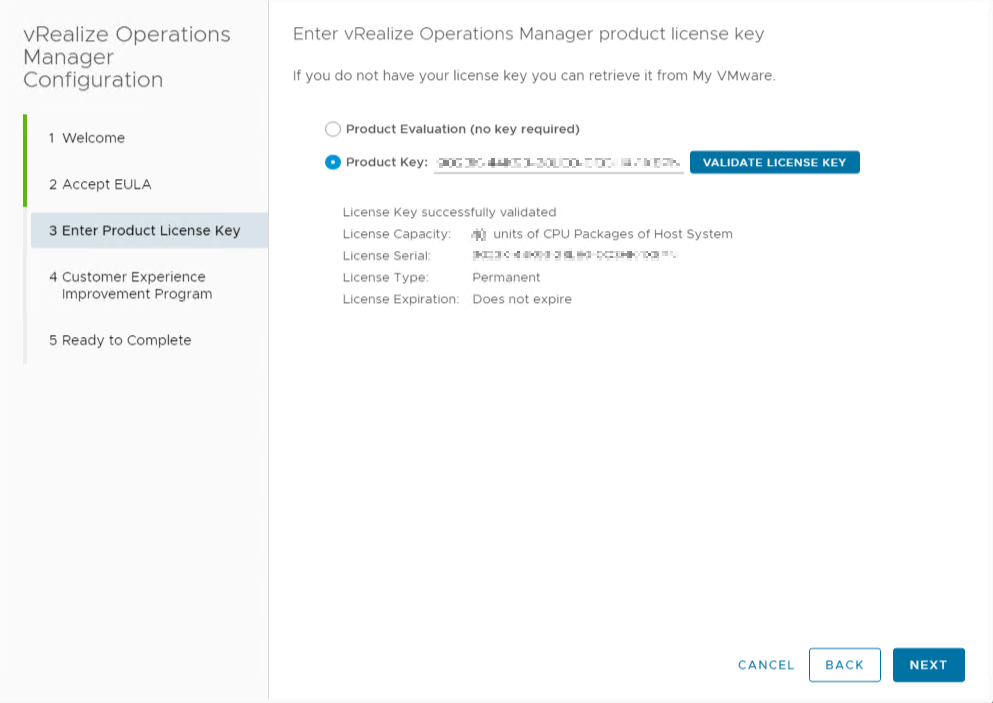
Fill in the license key > Validate License Key
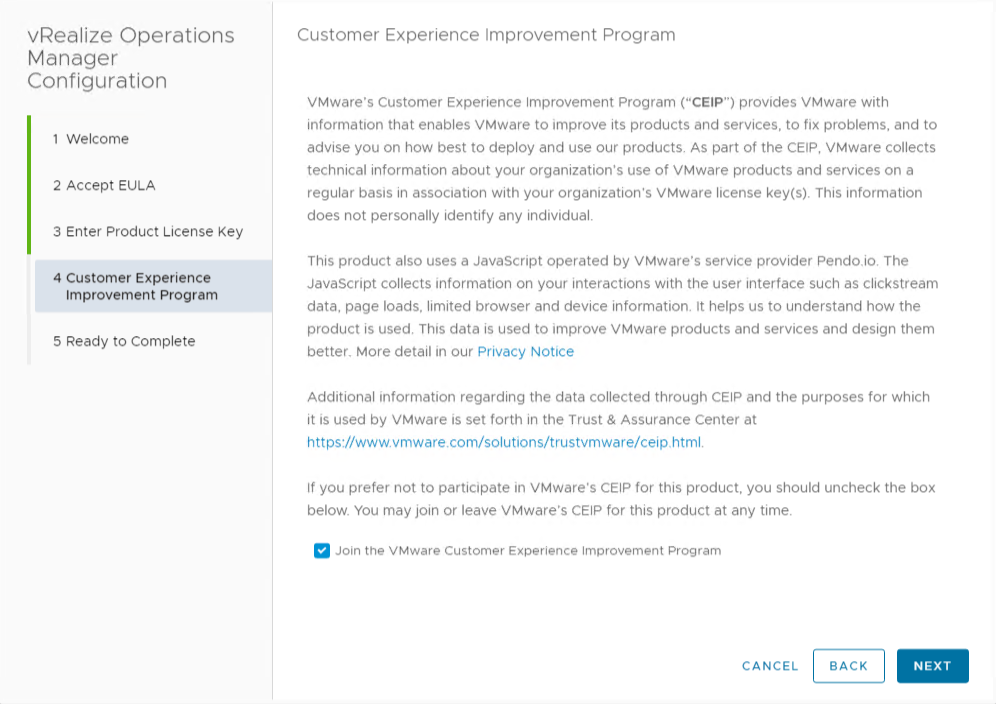
What you like
Click Finish
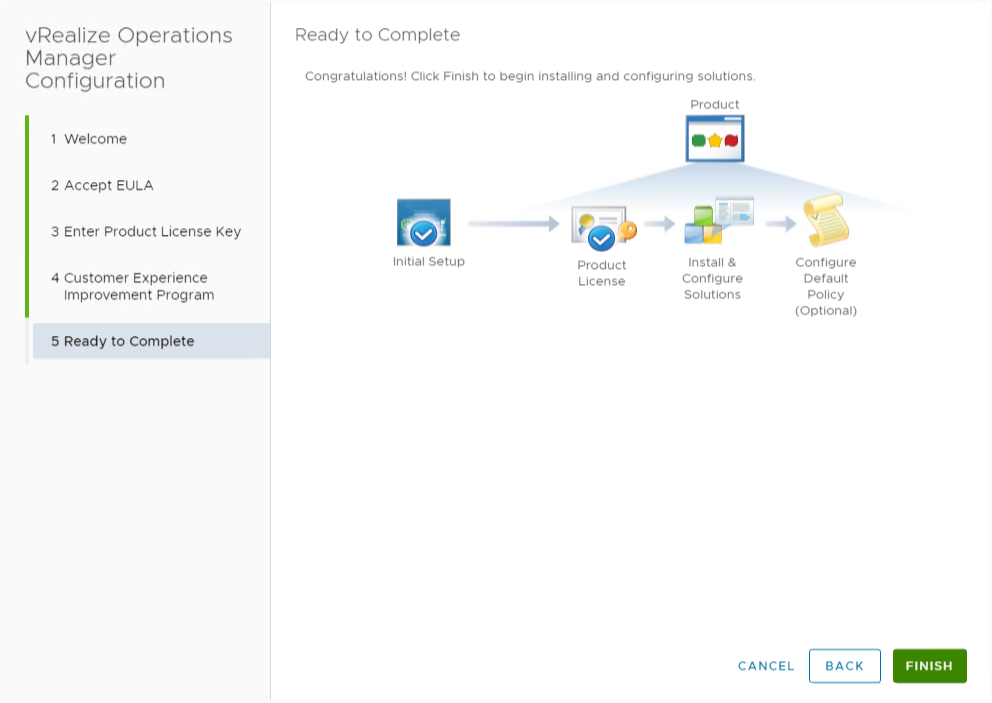
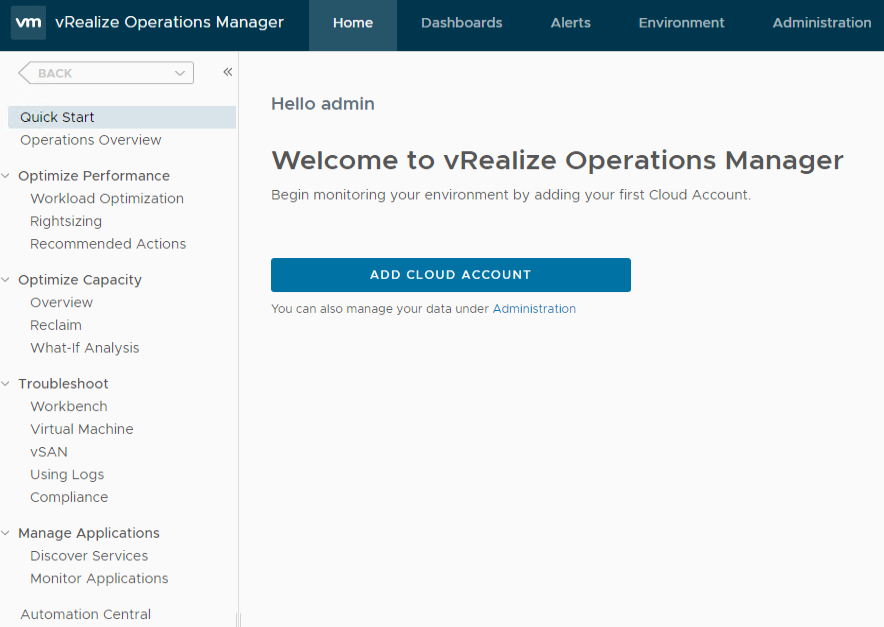
vROps 8.5 is set and ready to go

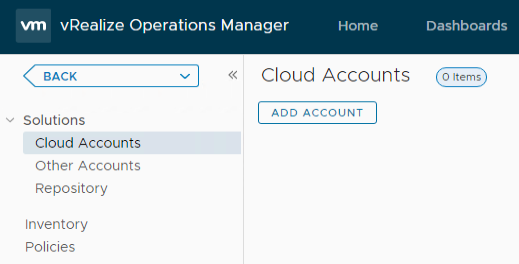
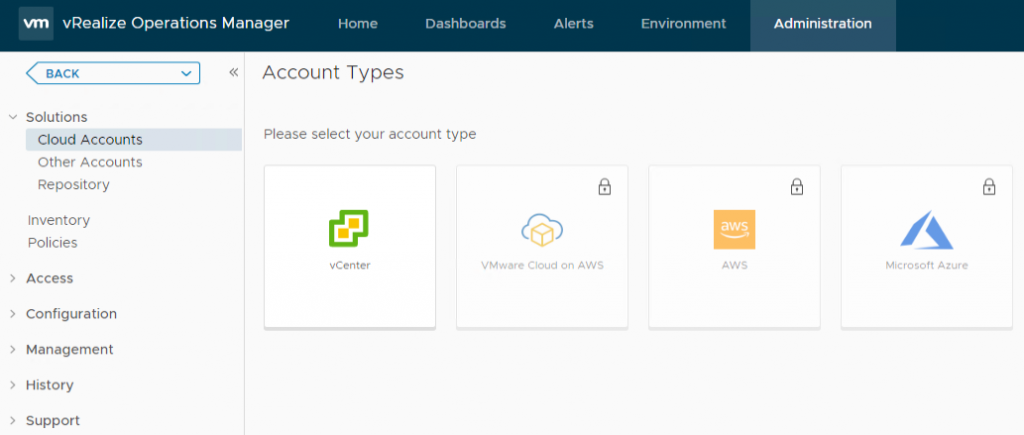
We gaan nu een Cloud Account aanmaken
Selecteer > Add Cloud Account
Select > Add account
We are adding a vCenter account > vCenter
To add the naother accounts you need an Enterprise license
Fill in the credentials and select the + sign to add the credentials

Add the credentials
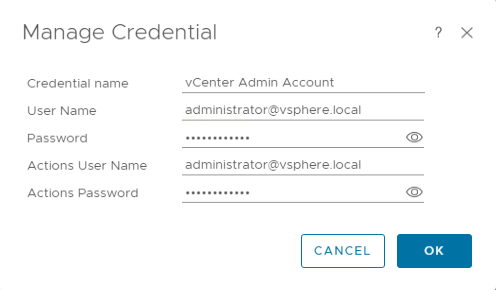
Select > Validate
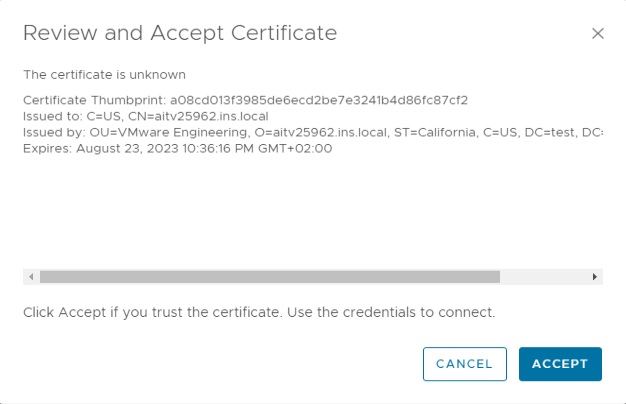
Review and accept the the certificate
Check the result of the connection test and select > Add (Cloud Account)
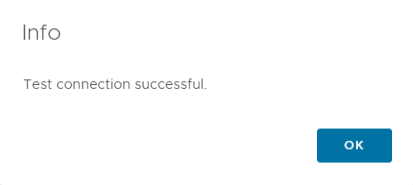
The Cloud Account is now added.
