When using the standard CIS Compliance template within vRealize Operations Manager a.k.a. vROPS, you may run into some setting(s) that violate the CIS Compliancy but for you as an admin may be a very needed one to optimize your daily operations routine. In that case the following procedure might be of interest to you.
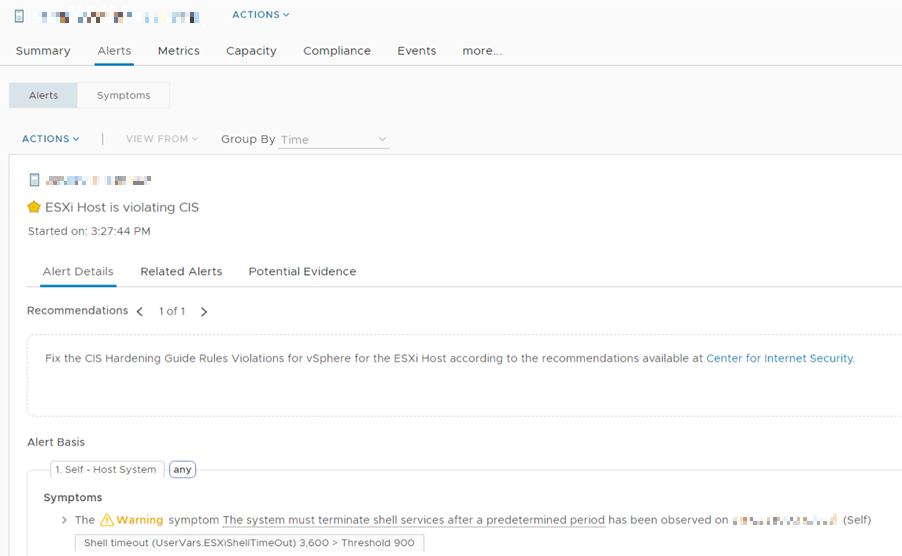
Let’s say, for instance you changed the “UserVarsESXiShellTimeOut” property to 3600, which violates the CIS compliancy standard and you want to exclude this alert from the Alerts & Definitions template.
To achieve the exemption of the afore mentioned alert definition within the standard CIS Compliance template we will make a clone of the template and carry out some changes to it’s configuration. The steps are outlined here below.
Within vROPS > navigate to Configure > Alerts > Enter “CIS” in the Quick Filter search bar
You will then be presented with the CIS Alert Definitions.
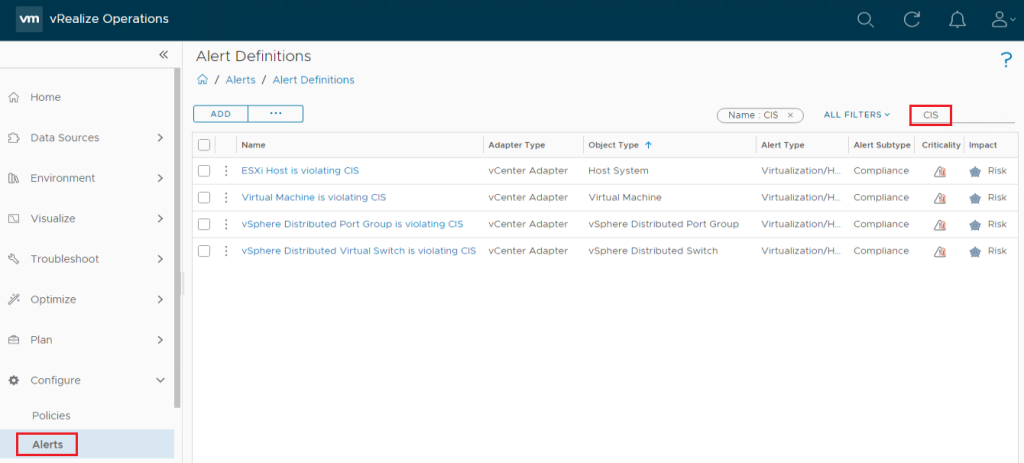
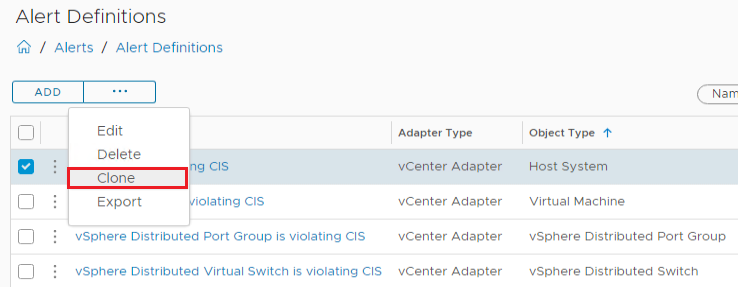
By selecting the three dots from the desired Alert Definitions template you will have an option to clone it.
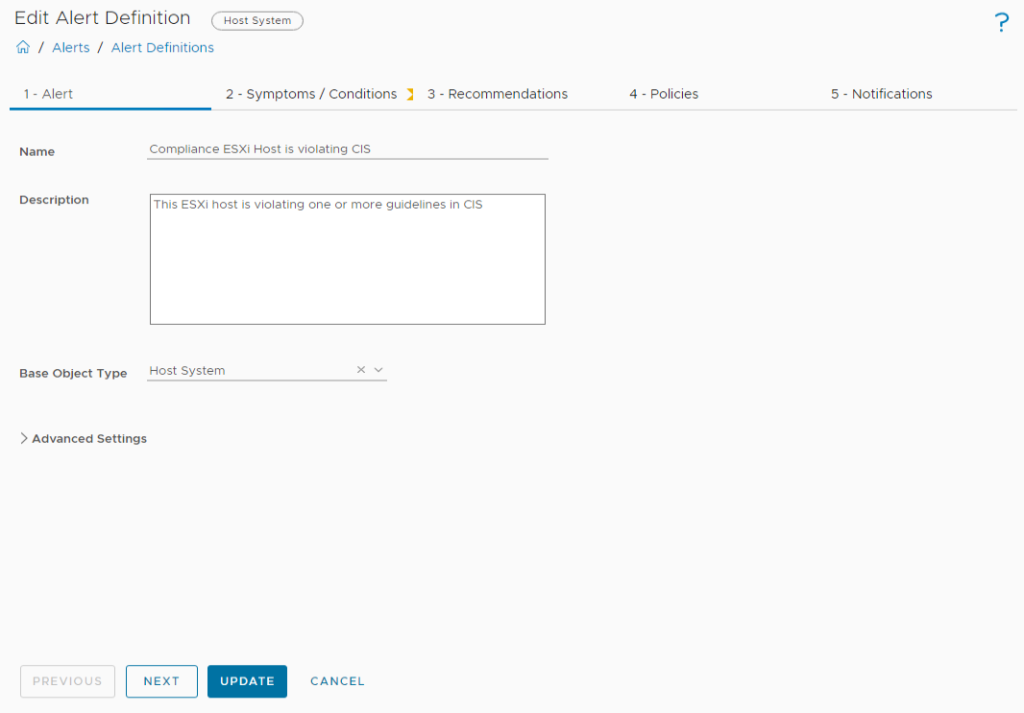
You can change the name to your liking. To make it distinct I have put “Compliance” at the beginning of the name > Next
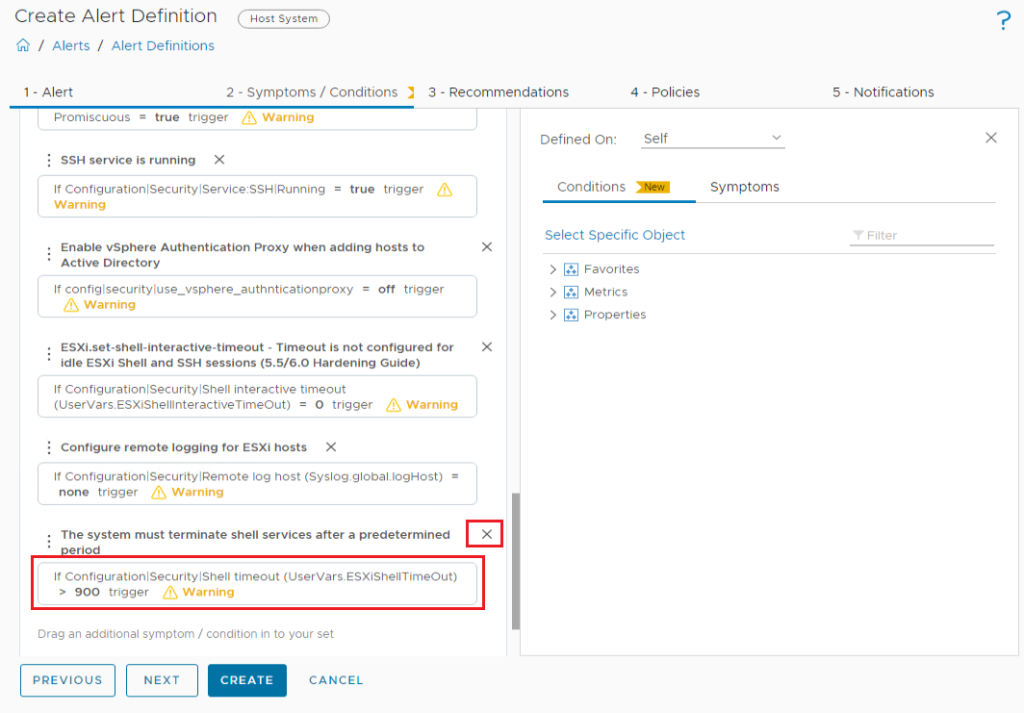
This section is important because here you can exclude the alerts that are of no interest to you. For demonstration purposes I have removed “UserVars.ESXiShellTimeOut” from the Alert Definition template.
Use the cross (X) to exclude the alert definition
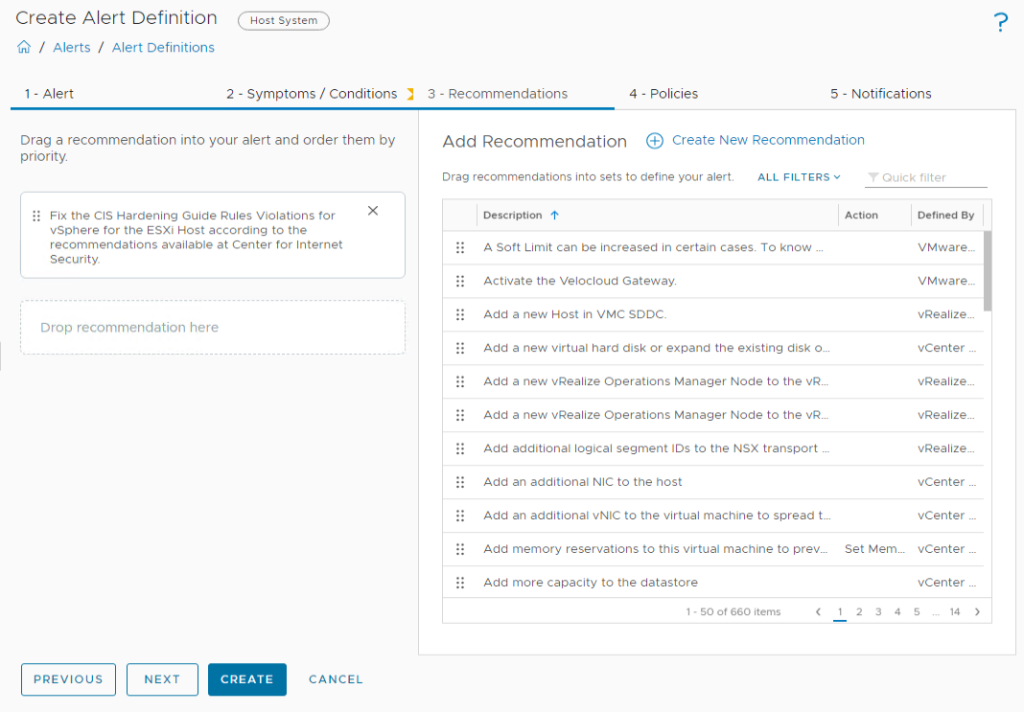
No changes to be made here > Next
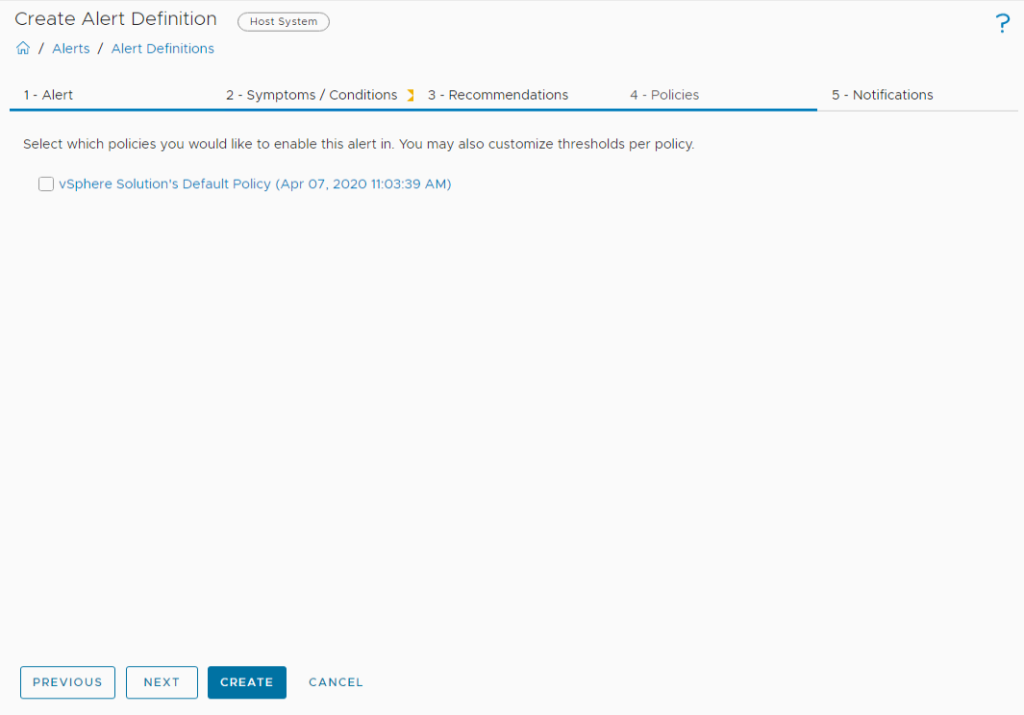
Creating a policy is next, so we will leave this option unselected for now. This new Alert Definition template will be linked to the new policy. Or, if you would like to link it to the existing one then select the default policy.
Repeat the above steps for the remaining Alert Definitions you would like to change. The only Alert Definition I changed besides this one is the “Virtual Machine is violating CIS” template. Here I excluded the “svga.vgaOnly”

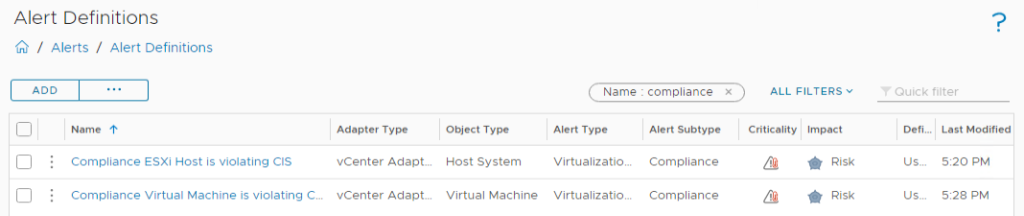
The newly made alerts can be found and viewed in the Alert and Definitions overview by searching for the given distinct name “Compliance”, used in an earlier stage when cloning the Alert Definitions template.
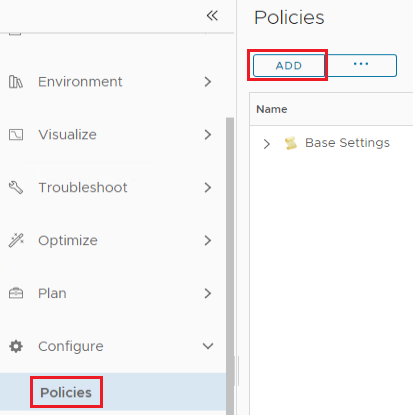
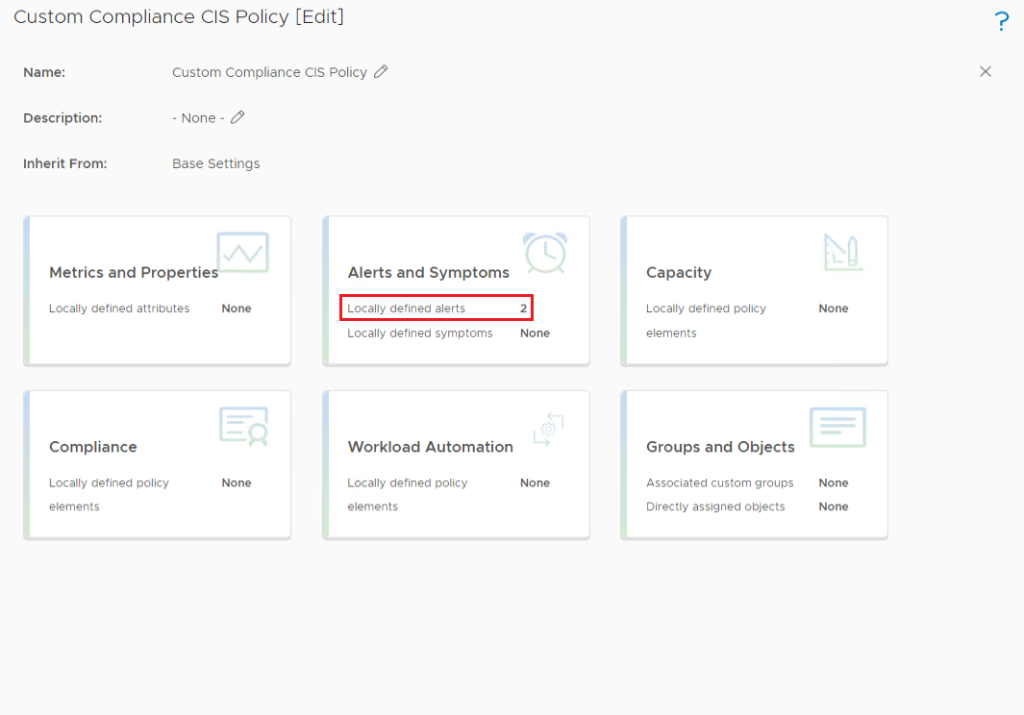
Next step is to create a Policy. To do this navigate to > Policies > Add
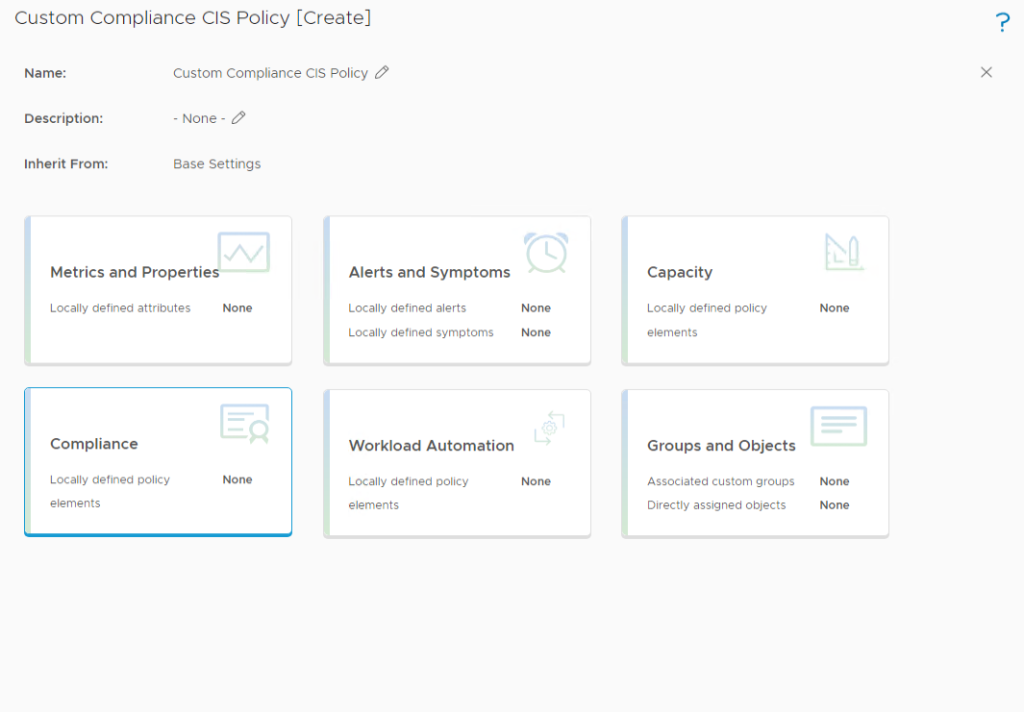
Fill in the properties > Create Policy

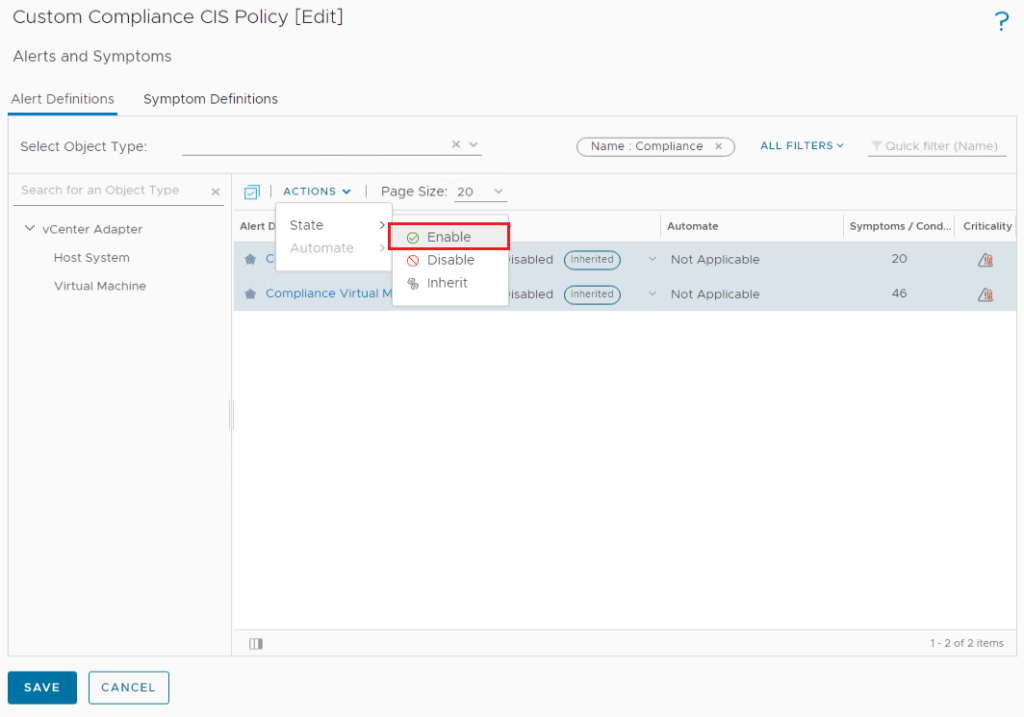
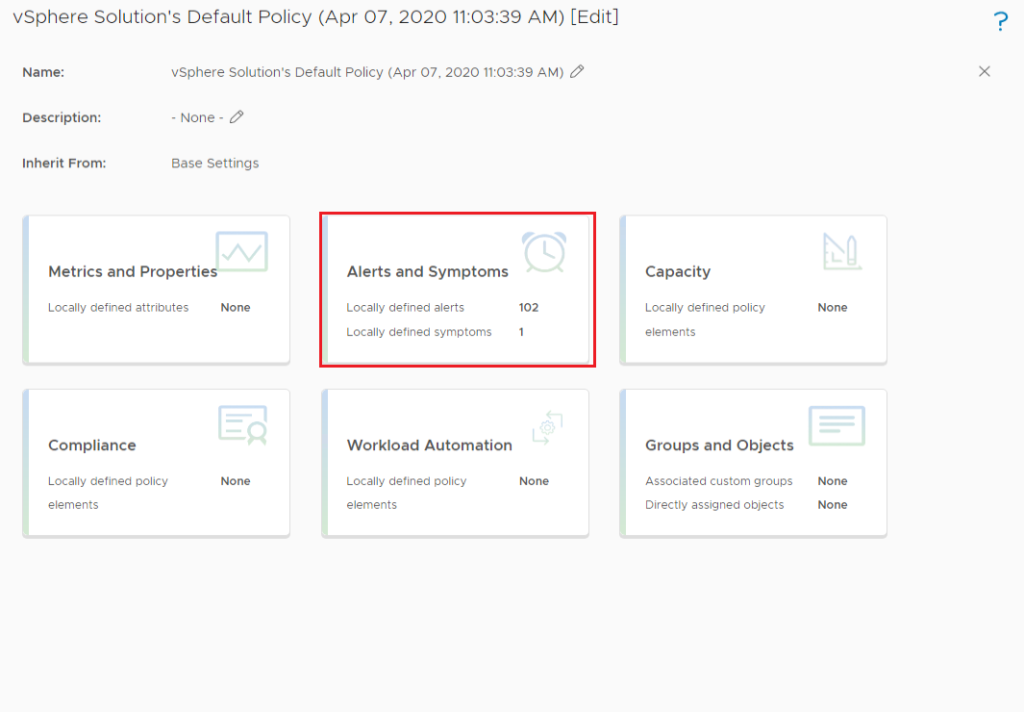
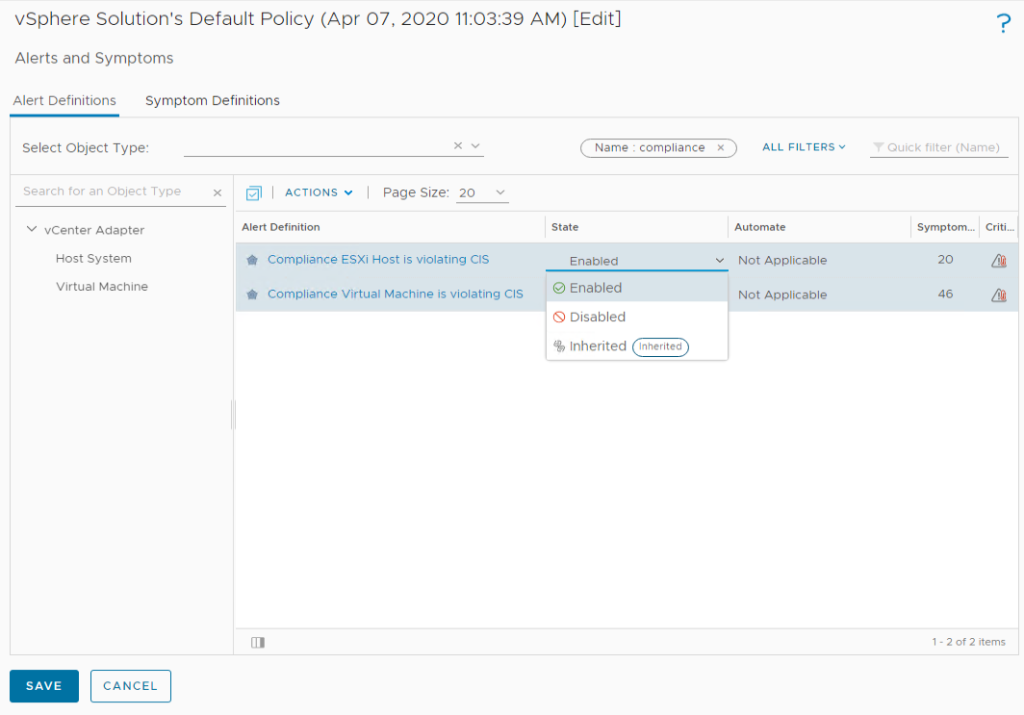
Within the Policy > select Alerts and Symptoms
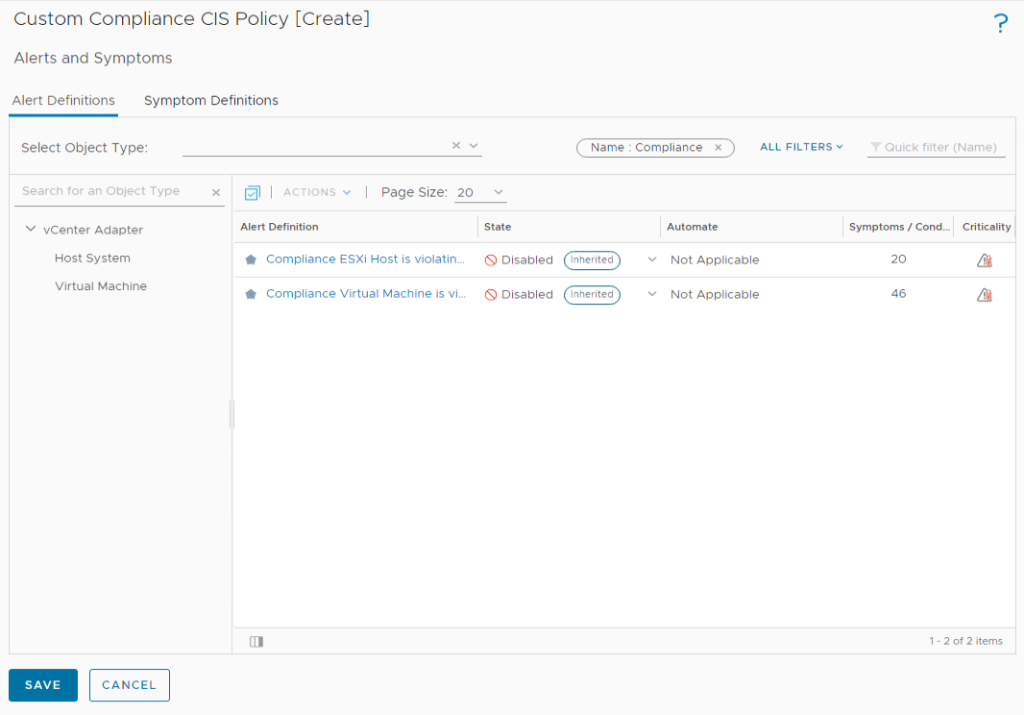
Select the Compliance Alert Definitions you want to enable > Actions > Enable > Save
You can now use the newly made policy as the Active policy or use the custom Alert Definitions in the already (existing) Active policy.
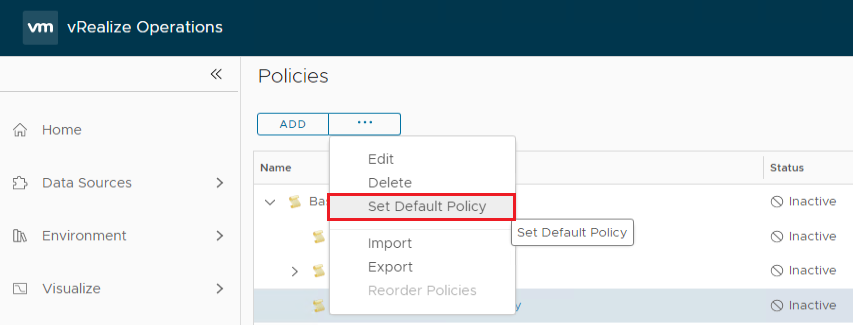
To use the custom policy as the active one, go to > Configure > Policies > select the “Custom Compliance CIS Policy” > Set Default Policy
To use the custom Alert Definitions in the (existing) active Policy go to > Configure > Policies > select the current active policy > Edit Policy > Alerts and Symptoms
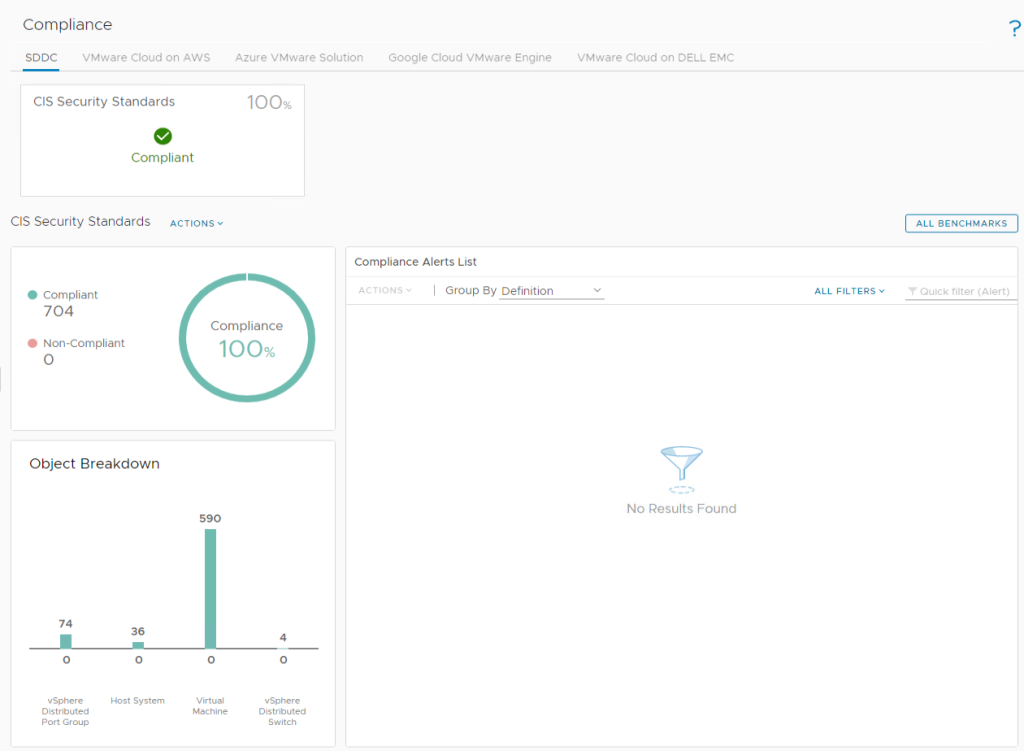
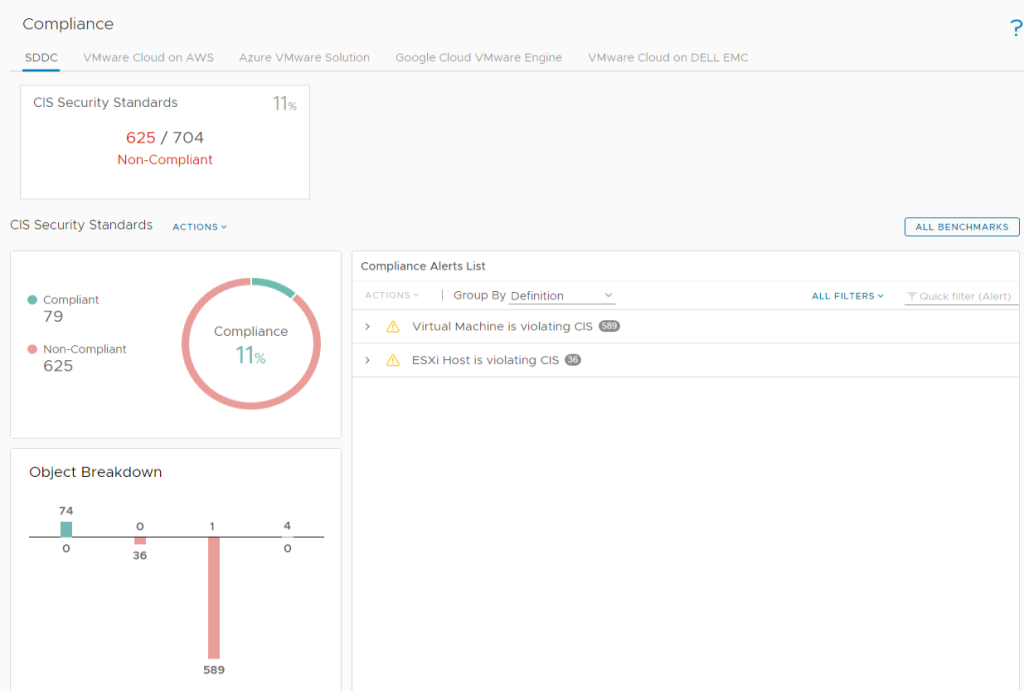
Once you’re finished go to your Home screen, select the Compliance link on the dashboard
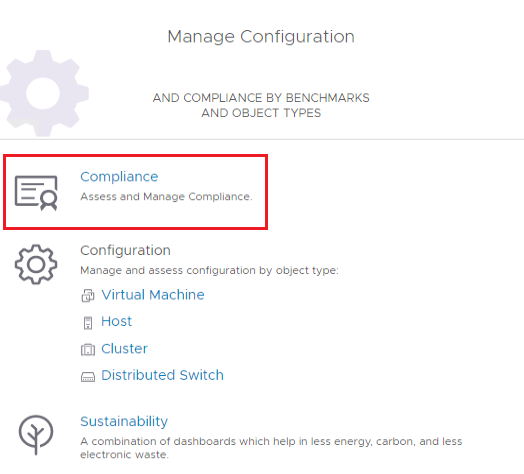
As you can see, all the clutter definitions that are of no importance to your organization are removed whilst preserving the remaining standard CIS Alert Definitions within the template.